 I have written several blog posts about the various cachetol based film developers I have been using the last few years. So I thought I would post my observations and personal experiences in more of a summary format for anyone who wants to explore a similar path. The only caveat is that these statements are based on my exposure methods, film choices, processing practices, and negative density preferences.
Pyrocat HD – the one that started my adventure away from HC110 back in 2005 based on an article by Sandy King and some discussions going on around the web. It would be 2016 before I tried it again and became committed to LF film. Used as directed by the original suggestions at 1:1:100 one can process 4 4×5 sheets in about 500ml of water in a tank. For Jobo or rotary processes you may want to use a 2:2:100 dilution since the constant agitation will oxidize the developer quickly. In about 2016 I read an article by Steve Sherman (www.powerofprocesstips.com) describing his technique using diluted Pyrocat HD and Extreme Minimal Agitation to gain acutance with the developer. So I followed Steve’s and others advice and tried a few different dilutions, times, and agitation schemes until I landed on what worked in my system. However the one problem I had with Pyrocat HD is the developer suddenly failing due to age or phenidone issues. That led me to search for the other developers noted below. You can tell when Pyrocat HD starts to die when one of your negatives comes out a bit thin and pinkish in tone rather than the nice brown tone one usually associates with Pyrocat HD. Using the EMA techique and dilution I was able to get lovely low contrast negatives that print easily around grade 2.5 – 3.
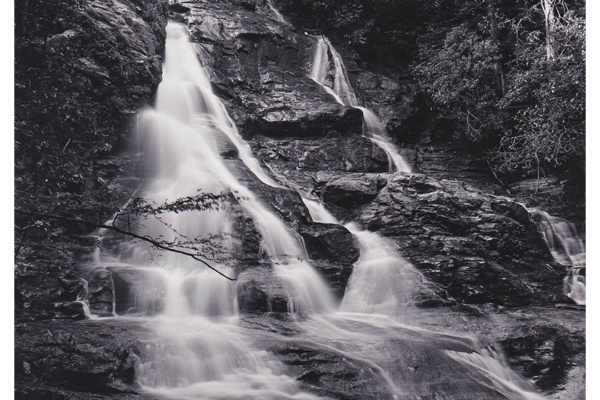
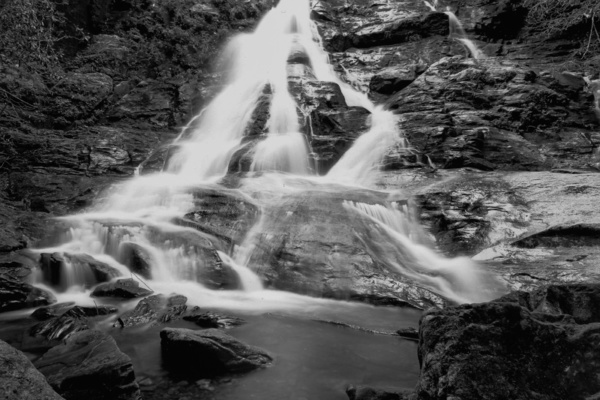
Pyrocat M (Metol) – In May 2019 I decided I had enough Pyrocat HD failures and wanted to try something new. There are only 3 chemicals that make up Pyrocat M and I could buy enough to experiment with other developers if it didn’t work out. So for the next 9 months I processed my film using M with similar results to Pyrocat HD. I even came up with a new technique for managing the dilution needed depending whether I was developing 1 4×5 sheet or 4. At 3.5mlA + 3.5mlB (from Pyrocat HD) + 475mlWater I was getting consistent results for 1 sheet (70*, SP445 4×5 tank, 12:30 minutes) and discovered I could step up 0.5ml of A and B per sheet and get enough developer for same results whether I processed 1 sheet or 4. I do think there is a little more open shadows with Pyrocat M and it may be a tad softer in contrast. I could likely go another minute and fix that. The tone of the negatives is the same brown as Pyrocat HD or slightly more golden in tone. Again, negatives print well at grade 2.5 and above for my typical waterfall scenes. All was going well until nearly the 1 year mark I went to make a working batch and it turned purple. I believe my one year old batch has likely come to an end. I did not want to try it on a valuable shot. But it is nice that it changes color like that as a warning. I will mix more.
Obsidian Aqua – February 2020 I rediscovered Jay Defehr’s articles about Hypercat but within his blog he mentions an even simpler developer using only cachetol and sodium bisulfite for part A. I had both of those from my batch of Pyrocat M. And so experimentation began. My first issue was this is such a strong developer I did not want to mix much of it knowing I would not likely use it all up. So I made up 200ml but at 1/2 strength and I use Part A doubled from the recommended amount. More info here in my prior article. Today I needed an N+1 development so I tried a couple of different techniques. First image for a scene with only 3.5 stops in contrast from dark wet rock to white water falling in deep shade. Dilution 1.6ml A (1/2stock) + 3.4ml B +475ml W for 15minutes with 2 minutes initial agitation and agitation points on the 3 minute marks. This resulted in what looks like a normal negative to me with good separation and detail. Second shot had slightly more contrast at 4stops so I boosted the strength to 2ml A + 4ml B + 475ml W but used my normal 12:30 time at 70* for FP4. Both negatives appear fully processed with the second one having slightly more base density. As with the other variants above I think I prefer to extend time vs increase dilution for more subtle control. The tone of these negatives is richer than the other too in color. I have not printed with OA negatives enough yet to make a good judgement yet, but suspect they will be same grade as the others. I’ll let you know what color it turns when it fails in a future article.
Working with dilution and time one can reasonably control the contrast of all three of these developers. Whether you want to invest the time for the EMA technique or use more normal development dilutions and times will largely depend on what you want out of your negatives. Both require you find that personal sweet spot for your enlarging/scanning needs. I find I like a less contrasty negative so it leaves me some room to expand the contrast during printing and also is a nice tonal scale to scan for first impressions. I would expect shelf life of all three to be 6 months from date of mix if kept in brown glass bottles. You might stretch to a year if you eliminate all air. I mainly use Ilford FP4+ and Delta 100 film, but have used HP5+ with same level of success. The only film I have had trouble with is Bergger 400. It builds too much density and lacks contrast when shot at box speed so likely need to use it closer to EI 200 or with a different developer. I am still planning additional experiments for use as a second pass developer for prints. You can use the Part B from the Pyrocat HD Kits for all three developers or use a 20% sodium carbonate solution but you would have to adjust the part B from 5ml to 12ml.
Final Tips – Use dedicated syringes for measuring so you do not cross contaminate parts A&B. Wear nitrile gloves while handling raw chemicals and the stock. Testing is simple if you take two shots, process the first one with what you think it needs then make adjustments to time. Keep good notes and measure your results if possible. Have fun, waste some film, abandon these if you find something that works better for you.
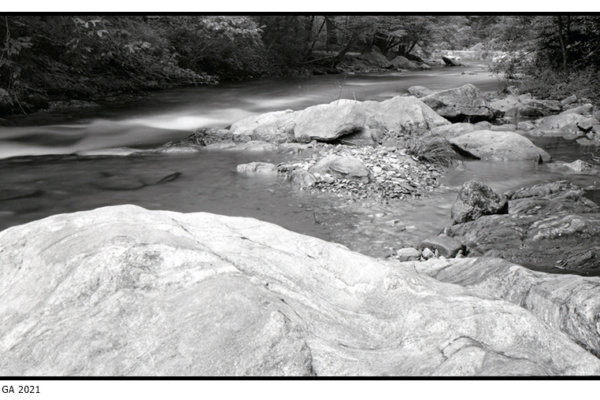
 Pyrocat M and FP4 Film test
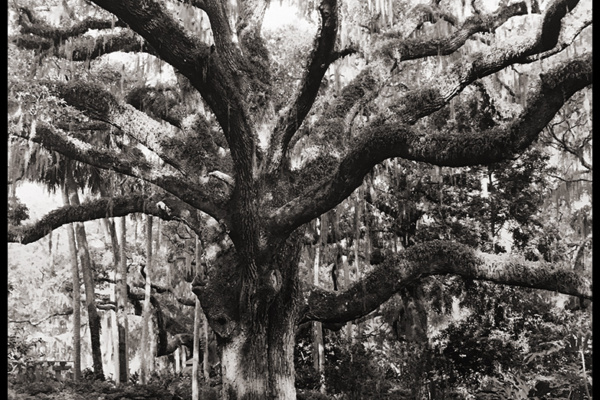
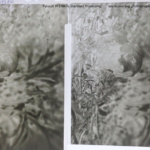
 Canopy Amelia Island Florida
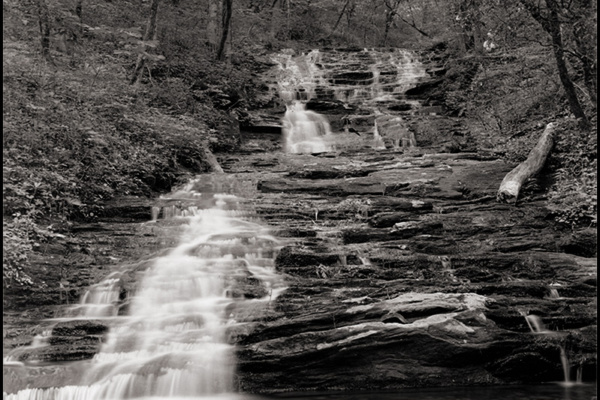
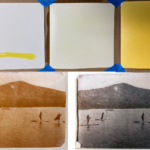 Salt Prints III