
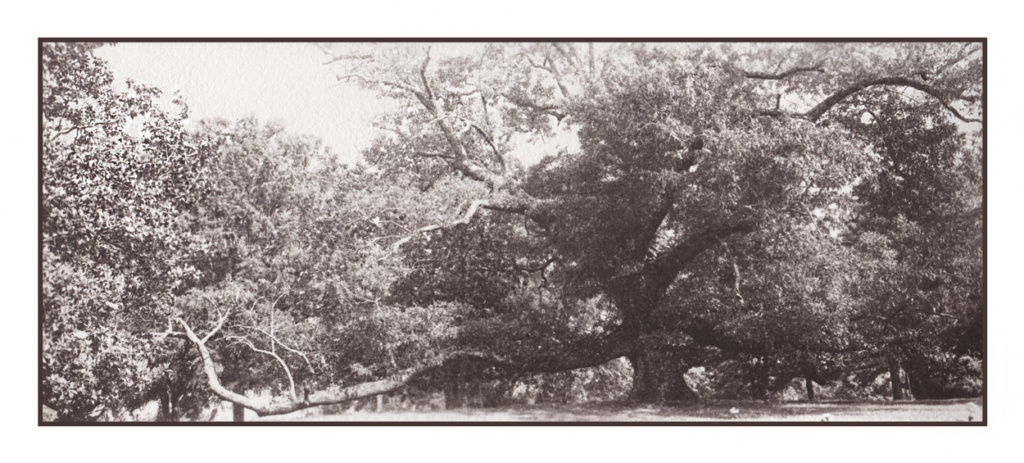
Looking for winter activities I stumbled into Alternative Print processes and fell in love with the workflow, plus I can do it indoors. Salt printing has its challenges and takes a long time for each print. I came across some images by Wolfgang Moersh, the guru of toning and alt chemicals, he had labeled as Lobotypes. Searching his site I discovered it is a combination of Ammonium Ferric Oxalate and Silver Nitrate. He posted some lovely magnolia blossoms against a black background. I of course chose a much busier image to struggle with. The two solutions used and citric acid can be purchased from Bostic and Sullivan or Photographers Formulary.
Mixing and Coating
Mix equal parts 40% solution Ammonium Ferric Oxalate with Silver nitrate (10% – 15% solution).
I used about 2 droppers of each (40-ish drops) for a single 5×12 image on 7×14 paper.
Swirl or stir the mixture in a small shot glass then dump on your paper near one edge.
Use a dry soft bristle hake brush to coat the image area; sweep side to side then up and down until evenly coated. Or use a coating rod.
The coating starts off greenish but dries to a nice yellow.
Allow paper to fully dry in the dark. Use within 24-48 hours for best results.
I have only used Bergger COT 320 paper so far, but it seems a nice fit. HPR would also likely work or any smooth watercolor paper.
Exposure
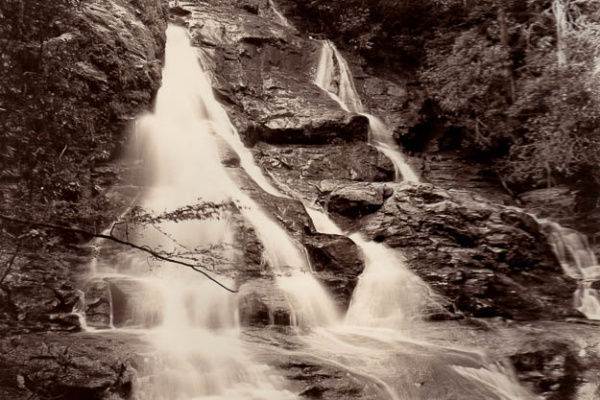
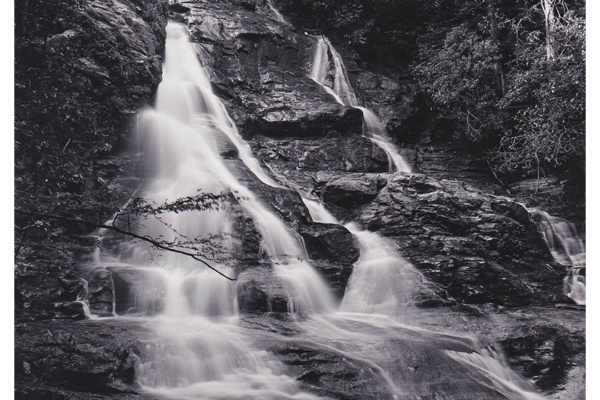
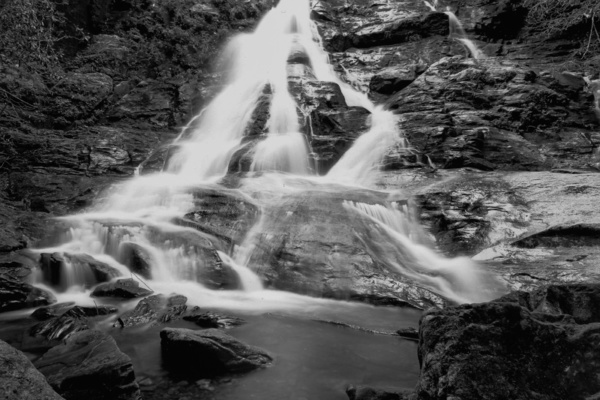
Your negative will be the same size as the final print and requires a print frame with a split back for checking the print. Use a UV exposure box for repeatable results. The exposure time is very short compared to SALT printing. The image above was only 2 minutes for Lobotype but more than 30 minutes for Salt. ( I originally started at 10 minutes and worked my way down to 2 after realizing I was over exposing). For lobotype you want your highlights just visible before the processing steps.
Processing
Bath #1 is plain water slightly acidified with a few drops of 50% citric acid solution. Allow to soak with gentle rocking for 3-4 minutes. The image tone will shift to red-brown during this bath. I don’t think it is temperature sensitive but keep things in the 70-75 degree range which is normal for photo processing. Grain sizeof the silver may be affected by higher temperatures.
Discard bath 1 after each print.
Bath #2 is a 1% citric acid solution (10g per Liter of plain water) 30 seconds to 2 minutes. If you see the image still clearing keep it in longer. You can reuse this for a few prints.
Fixer: I have tried a couple of different ones and got different results in color tone. Any fixer you choose should clear up the image even more. Gently rock in tray for 3-4 minutes.
Formulary TF4 will produce an image with chocolate brown tones.
Formulary TF5 will shift the tone to more neutral/warm gray.
Washing: Do not immerse under running water. It seems to affect the natural layering of the emulsion and gets really dull. Instead use several trays of dechlorinated water and let the paper soak a good 30 minutes. Hang to dry. I use a Britta water pitcher to filter chorine and other contaminants for all the steps above.
The final dry image will darken and lose much of the reddish tones.
Problems you may encounter
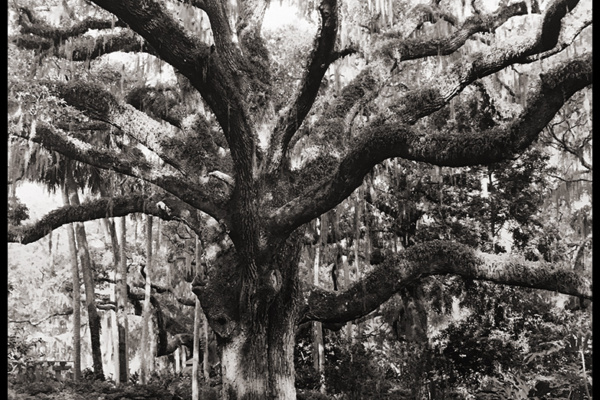
Over exposure will take your shadows completely black/brown with no detail. 3 minutes for the image above took out all the detail in the tree trunk.
Fogging – Because the emulsion is so sensitive to UV light even the day light coming through a window in your house can cause the base to fog.
Fogging after processing – Failure to fix properly can lead to splotches and odd migrations of the emulsion
Other notes
Find an image with fewer tones or adjust the curves for a digital negative.
A pyrocat stained negative works very well if it prints normally on VC grades 1-2.
Some people may not like the matte tone of the final print so you can use a bees wax to polish it up a bit.
You can experiment with bleach and redeveloping using a normal paper developer for different effects.
Gold toning will render image tone a bit cooler.
Selenium can be used as well.
If you try this let me know. This is a really fun simple process, but like all aspects of photography may take many tries to master.
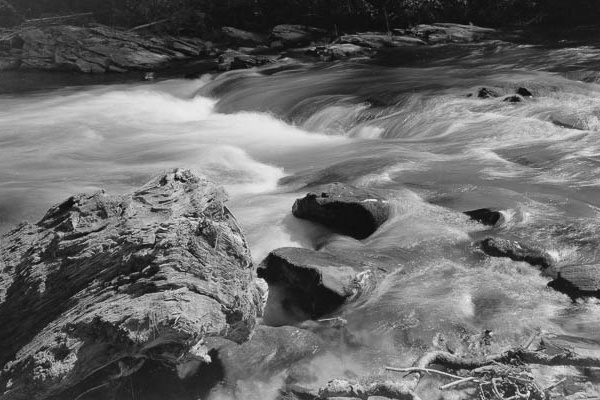
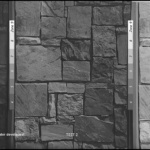 Obsidian Aqua – Film test
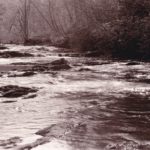 Cooper Creek Warm Tone
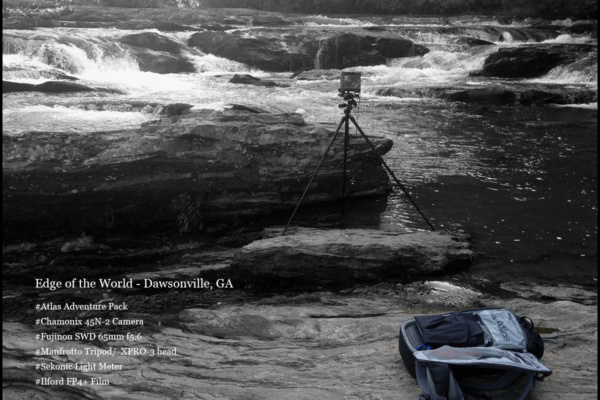
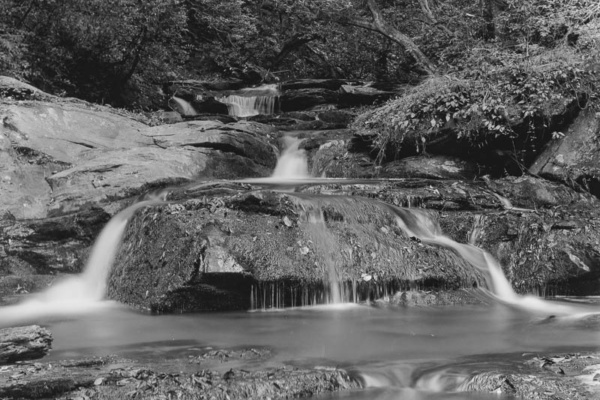
 Field exposure and printing notes