
In reading a few posts on various photographic forums about the lastest characteristics of the Foma papers, the conversations that the classic paper has a lovely warm brown tone peaked my interest. I have been seeking a warm brown image tonality without the additional steps I do today using a bleach + redevelop process. So I ordered some.
Initial Impressions
The paper itself has a cream base so immediately gives an offwhite appearance. It is also a very slow paper and seems to require a higher contrast grade when compared to Ilford Warm Tone papers. After exposure I developed in my standard Ansco 130 at 1:1 for 2 minutes, though the image does appear within 30-40 seconds. After developer I use an indicator stop bath for 30 seconds and fix for 90 seconds, then into the water holding tray for lights on evaluation. UPDATE: Ilford warmtone MGFB Pearl finish required 1/3 stop longer than the FOMA paper. Testing with ILFORD MGFB Classic Glossy there is almost a 2 stop difference for exposure.
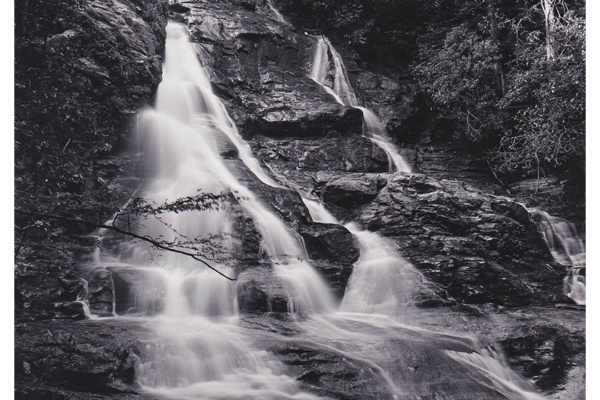
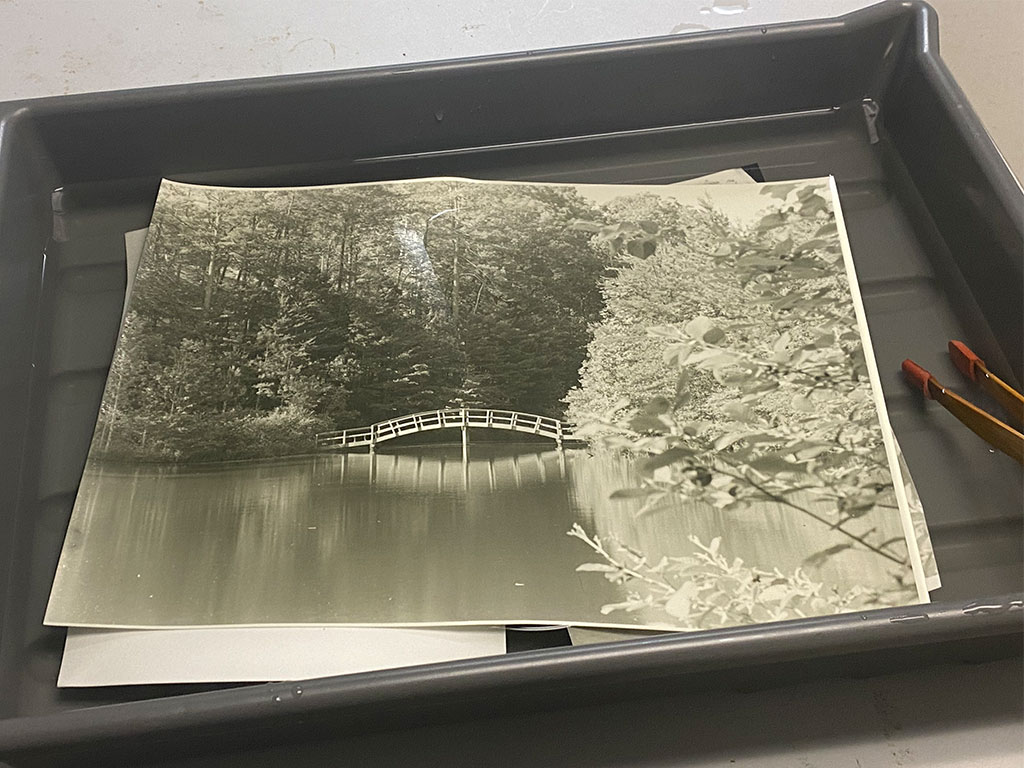
My very first impression is that this image tone is VERY green. As it sat in the water bath it did seem to move to more neutral gray but still has a strong green cast. I let it dry but it still looks creamy and green to my eyes. The dark olivy green tone might work well for an image that has lots of dark tones or where one might want to suggest greenery like an image of a pine forest. The green is much more noticeable than Ilford MGFB’s green-gray cast.
I then reached out to the Large Format Photography Forum for advice how to achieve the warm brown tone. The users said it required a dilute selenium bath to alter the tonality to brown.
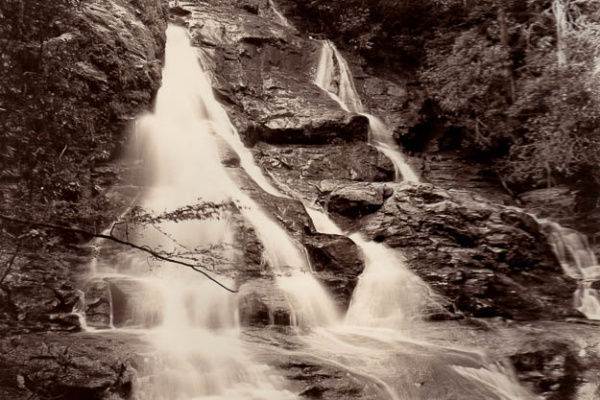
So a few days later I let the paper soak in a water bath while I mixed up some Selenium 1:40. My first test print seemed to change color after about 5 minutes to a slightly reddish brown tone but there was a definite color shift starting around 3 minutes. My second test was for 10 minutes in the selenium and it was only slightly different. So I settled on 7 minutes in selenium as my standard. It may vary by print so will have to test that in the long run. Another wash step and Fix step, then wash for an hour to complete the process. After letting it dry the darker browns were leaning toward gray-brown and the lighter tones were brown with a hint of redness. Perfect for the image I was working with.
Overall I am very pleased with the performance and color shift of the paper.
Other Notes
- Packaging – Comes in a cardboard envelope with a black plastic sleeve. It is hard to put the sleeve back in the light weight cardboard envelope once unfolded. Ilfords products come in a box which is much easier to use. I may need to find or build a light tight paper safe that can handle 11×14 and larger papers and incorporate that into my enlarger station.
- Paper Curl – Does not curl too badly if allowed to dry flat. Hanging it will curl more. Has a slight curl in the packaging before exposure.
- Thickness – This is a heavy weight paper and does not feel fragile. It does take forever to dry.
- Base color and lightest tones – It seems very easy to over expose almost white areas such that they become sort of yellowish. In the wash this diminishes some but does come back at dry down so you may wish to pull this paper earlier from the developer or underexpose for dry down.
- Surface scratches – While wet you will want to be careful not to scratch the emulsion – it came off in a couple of places due to rough handling with plastic tongs.
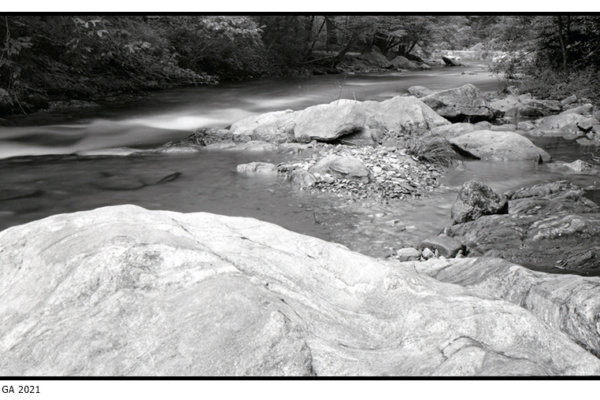
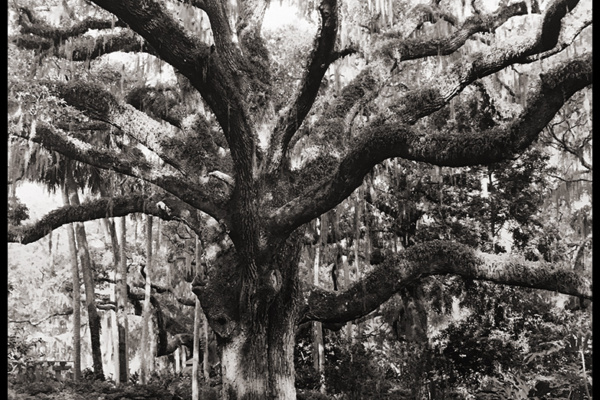
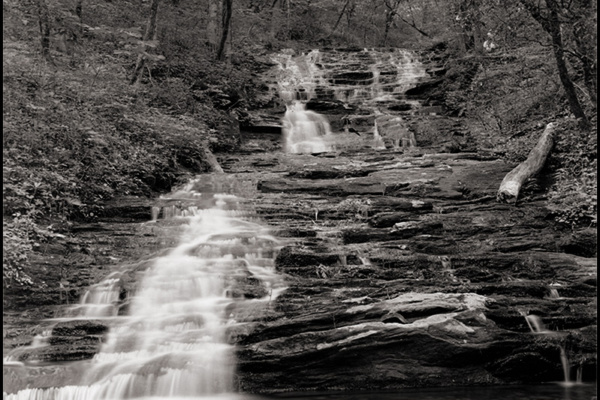
Sample images
Here you can see the greenish cast in the tray while still wet
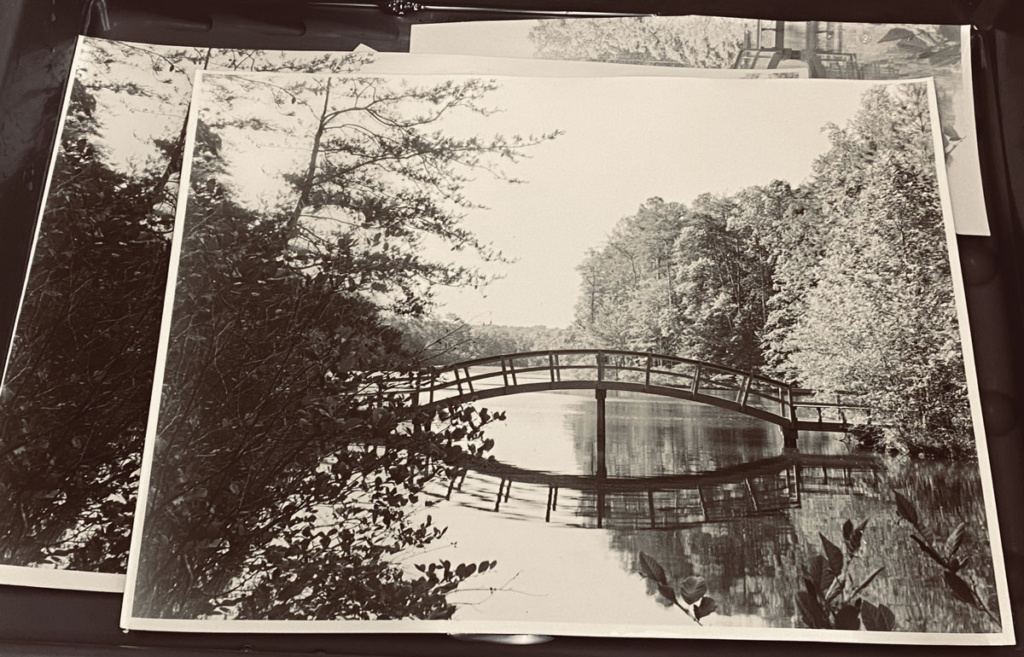
Here is the tone after selenium but it does dry down more neutral (different view of the bridge).
 Testing LPD vs PF106 part II
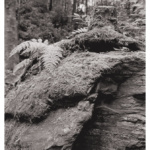 The Stump on a Rock
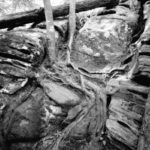 AT Rocks and Roots
 PF 130 Paper Developer Review