
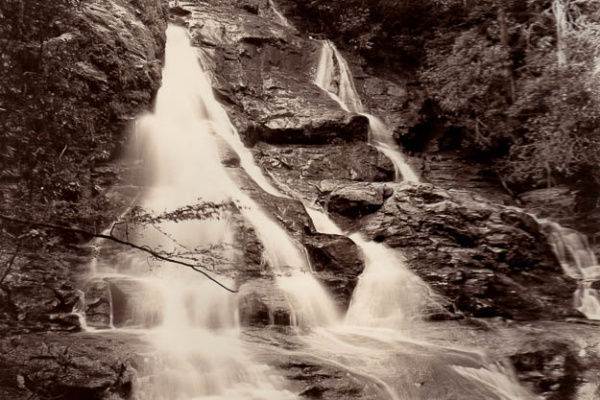
In my earlier article SMA Shot in the dark I described the difficulty of shooting a low light subject. The negative came out very thin due to the dark interior so I knew it might be a challenge. I played with it in Photoshop some to get the feeling of what was needed. Today I printed that shot and it was my first time doing a low key image. The first print things appeared well lit and defined so did not give the feeling I had while at the site. I was surprised by how much light there actually was.
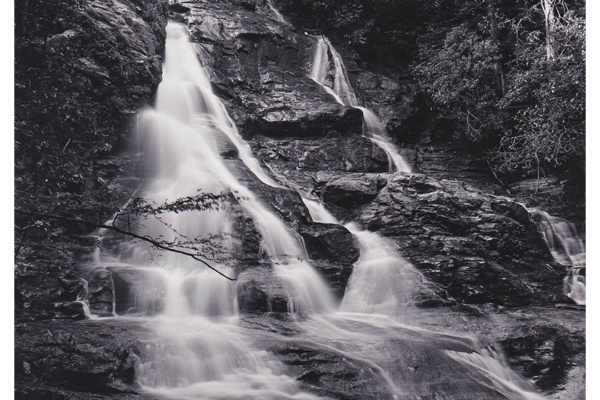
For the second try I doubled the exposure and turned down the grade to 1.8 . That is starting to get me close but the top is too dark and the bottom too light. So I increased the time some more and burned the bottom more than the top. Getting closer. By about the 5th exposure I had a good feel for the bottom but the top was still kind of blah. So I decided to increase the contrast overall back to 2.5 and expose the whole image for the 33 seconds I had come to like for the top. But then I burned the bottom in for another 9 seconds using only the green light (grade 0) filter. I wanted to burn it in all over not add more contrast. This gave me a better balance for top and bottom. I also cropped it square because the upper part of the image was more distracting than helping. Still evaluating but this is the Photoshop rendition and I think I got very close.
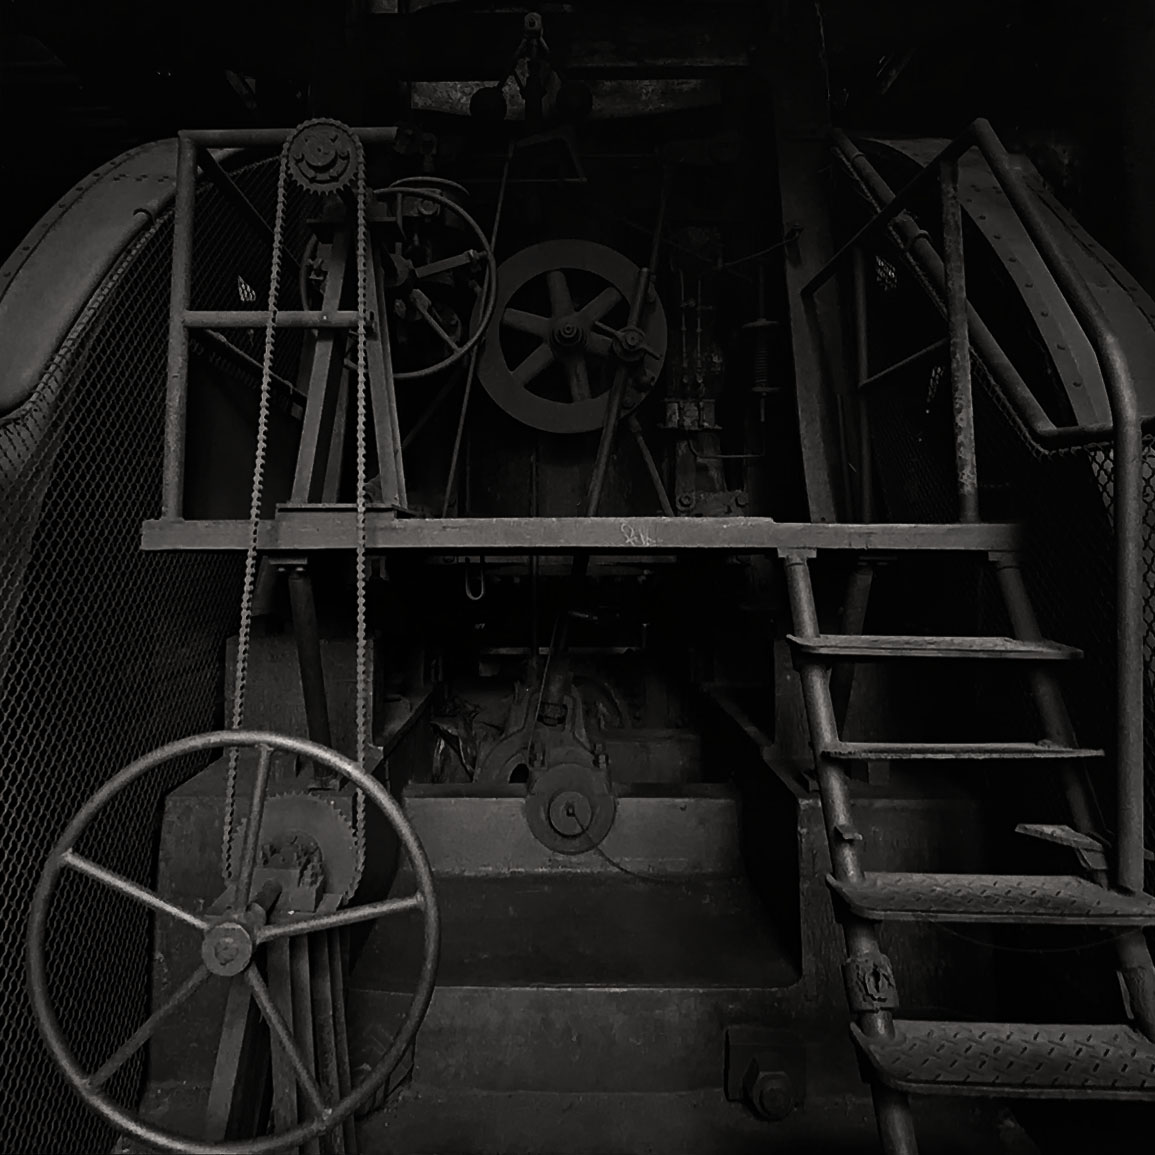
Technical
Ilford MGFB Glossy, Developer PF130 1:2, Indicator Stop, Ilford Rapid Fix, Washaid.
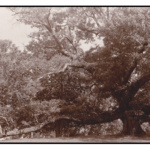 Salt Print First Attempt
 Spring Break 19 St. Simons Island and Jekyll Island
 PF 130 Paper Developer Review