
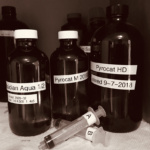
After having some failures with Pyrocat HD I decided it was time to order the chemicals directly and make my own. So I went to the Pyrocat HD website and got the list but then I noticed this formula with Metol and fewer ingredients. Further research indicates it has similar properties to HD but with slightly more acutance. So I ordered less stuff for about the same price as a kit for HD would cost. The added bonus is I have enough for about 10 batches and can try making IT8 toner as well (Cachetol based toner).
The three ingredients in stock A are pretty simple to measure and went into solution easily. I made 1/2 a liter for my initial testing so cut the values below in half. I still have plenty of Stock B so did not mix any of that and it is the same as is used for HD. I am going to let it sit a day before attempting use. Note you will need a scale that can measure grams in 1/100ths if making small batches (ie 250ml would require only .625 grams of Metol).
Part A 1 liter
- Distilled Water at 120F 750 ml
- Metol 2.5g
- Sodium Metabisulfite 10g
- Pyrocatechin 50g
- Water to 1000ml
Part B 1 liter (same formula for Pyrocat HD)
- Distilled Water 750 ml
- Potassium Carbonate 750 g
- Distilled Water to make 1000m
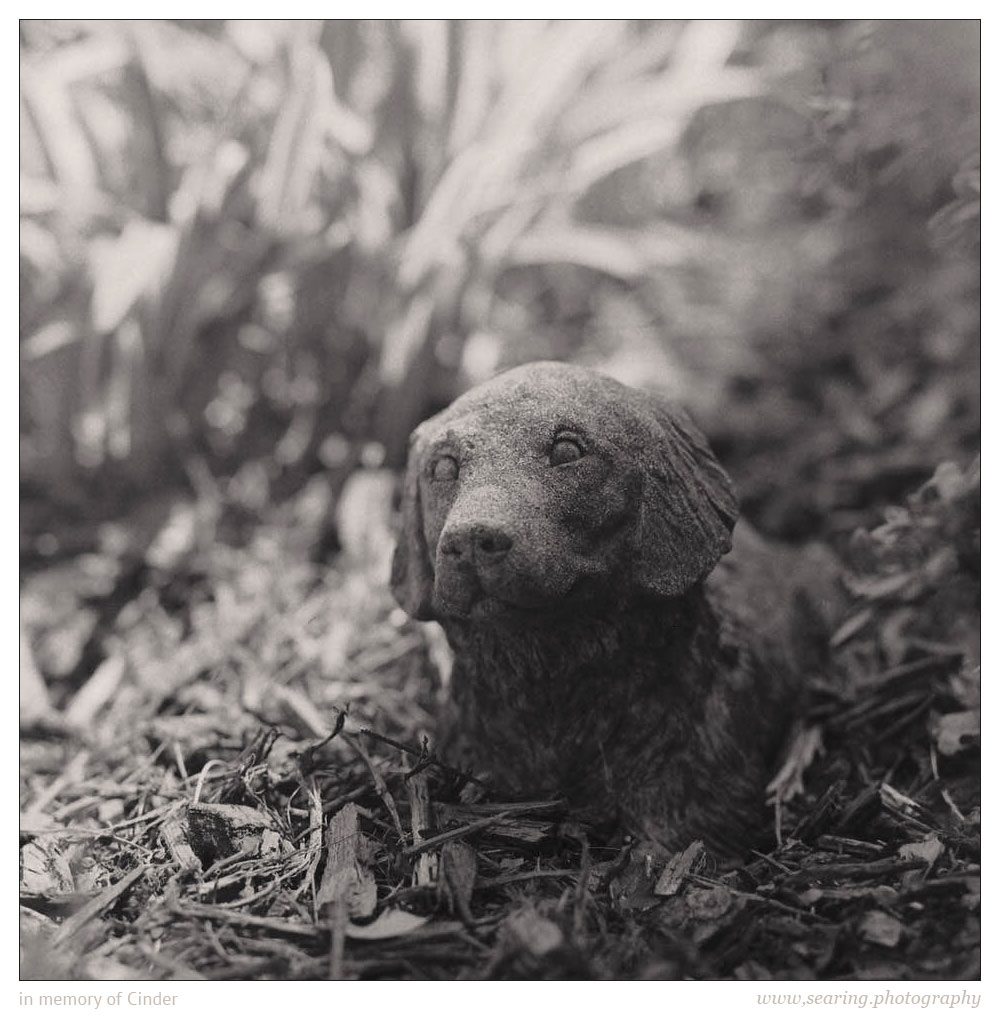
First Negative
I shot a simple test image in my yard which was a 4 stop scene of a stone dog in the mulch with mixed shadow and sunlight on the stone. FP4+ @ EI100 with about 1/2 stop added for bellows factor. I processed the negative in my usual Minimal Agitation scheme using a dilution of 3A/2.4B/475W for a total of 23 minutes (2init+7×3(30s)). I boosted part B due to the low contrast of the scene and my normal tends to be for much higher contrast waterfall scenes. Processing was done single sheet in a SP445 tank, with plain water stop, TF5 fixer, and a 13minute wash. The wet negative looks to be a lighter color of stain than a Pyrocat HD stain and slightly less pink. It also looks a bit thin to me but there were no true whites to add that density. I will likely do some testing with a step wedge and measure the density and compare it to my HD tests. Overall I am pleased an image is there. Note the image was shot at f8.5 and is not as sharp as I would usually stop down to , so I can not comment on acutance.
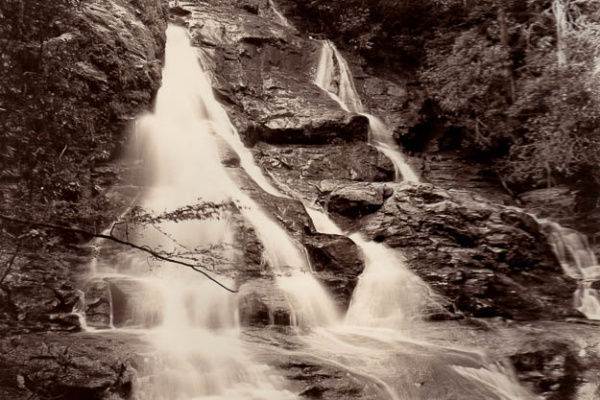
Scanned Negative
The image below is from an Iphone scan of the negative with a slight bump in contrast, cropped square, and given a warm tone. Gives me an idea how this will print.
Update: Printed easily on grade 2.5 Ilford MGFB Glossy with no burning/dodging required. The dark areas are just a tad richer on the print, and the blur is buttery.
 What’s In the Darkroom
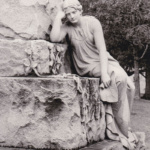 Ryan Memorial Westview Cemetery Atlanta
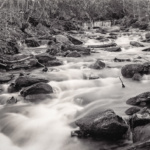 Toning Selenium before Sepia
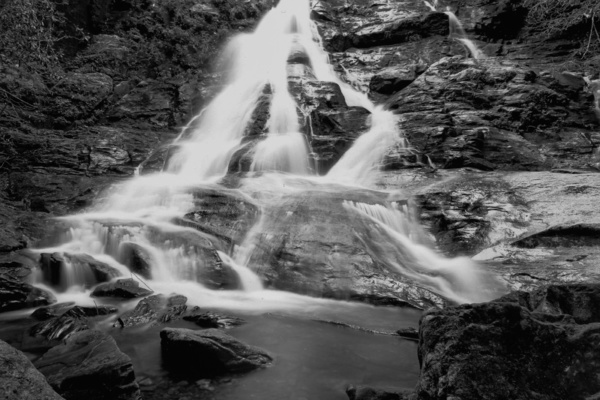
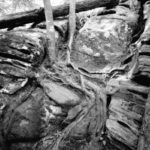 AT Rocks and Roots
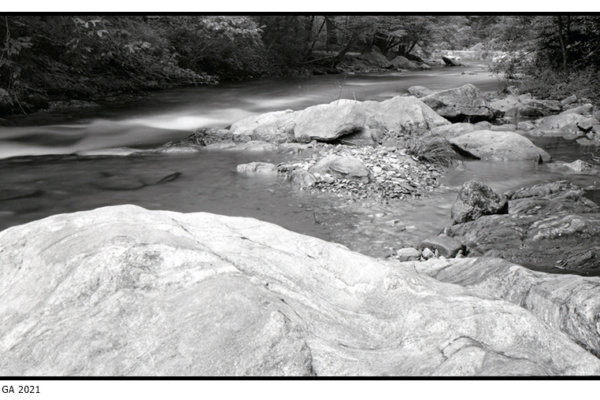