
Today’s experiment was to compare two identical exposures developed with different dilutions of Pyrocat M. My standard single sheet development method is to use Steve Sherman’s EMA technique which blends dilution with long stand times between agitations. Today I decided to try something a little more aggressive using a standard mix, shorter stand periods, and shorter overall time. Having worked with Pyrocat HD helped me formulate an educated guess how long I needed. Below I will describe the techniques used and the results.
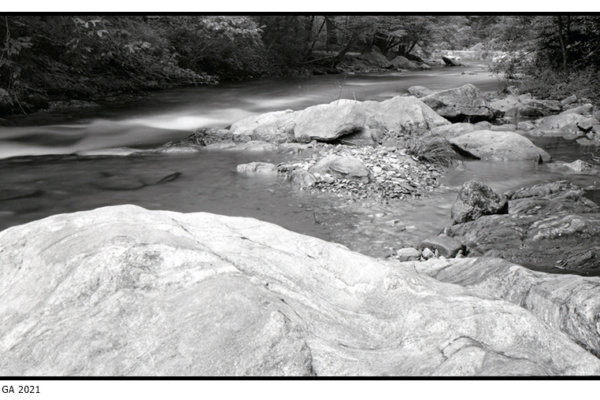
Test Subject: low contrast garden scene placed zones 4-7, Film FP4+ @EI 100, Meter F8 x 1/125 , Capture +1/2 stop to allow for bellows extension, EV range10.7-14.2
| Steps | EMA | Standard | Notes |
|---|---|---|---|
| Presoak | 5 minutes | 5 minutes | For FP4+ 5 minutes sufficiently removes the blue halation dye |
| Dilution | 3A : 2.4B : 480 Water . (mls) | 5A : 4B : 480 Water . (mls) | Part B reduction limits staining. So my Standard formula is closer to the 1:1:100 recommended |
| Initial Agitation | 2 minutes | 2 Minutes | Fairly aggressive initial agitation reduces uneven development and helps highlights develop more quickly |
| Subsequent Agitation | 3 x 7 minute intervals | 4 x 3 minute intervals | Long stand times allows the developer to exhaust and builds edge acutance.
Shorter intervals replenishes developer for more contrast |
| Total Developer Time | 23 Minutes | 14 Minutes | EMA dilution takes longer, standard process is shorter |
| Stop,
Fix, Wash |
1 minute,
5Minutes, 13minutes |
1 minute,
5Minutes, 15minutes |
Water Stop,
TF5 Fixer, Tap water wash, no spotting agent used |
Results
The two negatives have roughly the same appearance except that the Standard developed one has more density. Shadow areas are both similar but highlight areas are denser on the standard development processed negative. This could be due to Pyrocat M needing a bit more time for EMA technique though I have printed that negative at grade 2.5 with no further manipulation required. I think the standard one will require a lower grade. There is a higher contrast with the standard negative which could be reduced with less development time. The overall staining is not that much different for the non-exposed edges of the film. Color of the high density areas is “grayer” on the standard since less stain is influencing the tone. I am happy with my best guess time of 14 minutes, however I might try less initial agitation and bring the time down to 13 total minutes. I will need to experiment with higher contrast scenes to see if there is any real acutance difference that is noticeable when printing. And I need to test other films too, but using the standard method will help me when personal time does not allow the extended controls of EMA and its long periods.
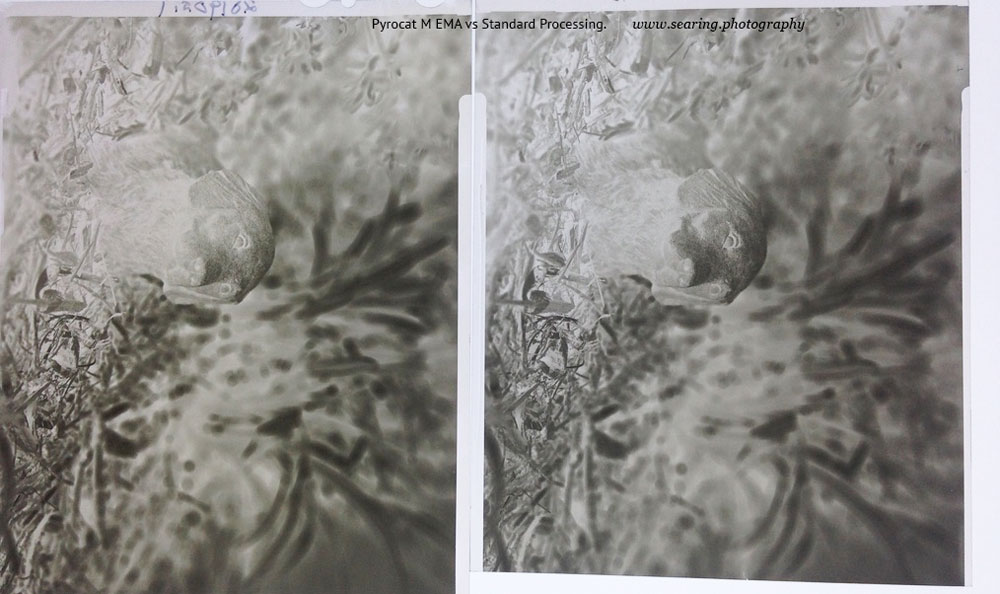
The photo below is an Iphone shot of the two negatives side by side on my light board which has a bluish white tone to it. I only adjusted image brightness. As you can see the EMA side (left) is warmer due to staining. The clear margins show the EMA negative to have slightly more yellow and less blue, but they are very close in tone. Key areas, dogs neck and face, dark grass above head, bottom right blurred sections. Iphone not perfectly level so getting some key-stoning.
 SMA Shot in the dark
 Toning with Espresso
 SMA Shot in the Dark Part II
Interesting Eric would be nice to see the two negatives side by side
Yep – I was letting the standard one dry overnight completely.
Update: To get the more compressed look of the EMA technique reducing contrast, I landed at 3.5A+3.5B+475W for 12:30 minutes when processing a single sheet for most of the higher contrast scenes I shoot. Add .5ml A and B per 4×5 sheet in the tank The one thing I like about cachetol family of developers is how they respond to dilution and time changes.