
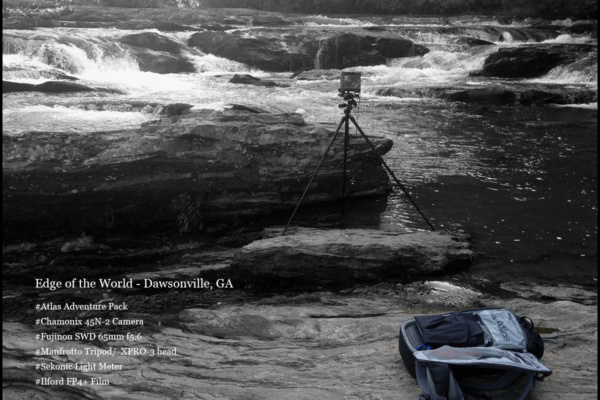
Like the Pointer Sisters “I’m so excited, and I just can’t hide it, I’m about to lose control and I think I like it. ” I purchased a new hiking backpack for my 4×5 gear.
A couple of weeks ago, I went on a 2.5 mile hike, and my old frameless pack was extremely uncomfortable and was hurting me. I am carrying so much gear now that it can no longer maintain its shape. So I began the research of the usual Domke, Lowepro, and other standard brands. While I was searching I watched a couple of youtube videos and in the play list I kept seeing videos for Atlas backpacks. All of the you-tubers seemed overly excited about the Atlas Athlete backpack for their digital cameras. So I looked further and found they they have a larger pack they call the Atlas Adventure pack. You can view their offerings at: https://atlaspacks.com
The Atlas bags have built in Camera ICUs with dividers. They have a stiff frame, a good adjustable harness system, and a solid belt which all combine with the rear of the pack to place the load lower on the body. Beyond the ICU the pack can expand up to 70 Liters. The Camera ICU is accessed from the Back of the bag and unzips fully. Inside the ICU there is an origami feature that reduces ICU size but gives you more packing room for non-camera gear. I carry lots of lenses and gear so I need the full ICU. I also wanted a way to pack a tripod so I don’t have to carry it in my hands. Sometimes I find narrow trails or traverse bushy areas where holding onto a tripod is not ideal. There is a large pocket on the Adventure pack that holds the tripod legs and I can strap down the top of the bag over it.
The bag seems well constructed and seems to have the basics covered. There are some features I would like to see improved. Interior top pockets are small – one larger pocket would be more useful. The side pockets are probably ok for a water bottle but not for permanent storage. There are lots of thin layered pockets on the outside that could probably serve the user better as a larger single pocket and let the user add pouches as needed. A molle system on front of bag and/or some dRings would make it better. And the ICU could be an inch taller or make the frame back an inch taller.
The first thing I did when I received the bag was to rip out all the dividers in the ICU and do a basic layout. After a couple attempts I found an ideal fit for all my gear. All of the items I need during the taking of a photo fit neatly – except the camera which resides in the top of the bag in its own case and is accessible from within the ICU. Below is a picture of one of the iterations, but in the end I put the holders and the loupe on the bottom row and moved the lens sections up one level each for more protection. Heavier lenses at 2nd row, lightening the load as I work toward the top. All the non-essential items such as gloves, tools, extra parts, bags, etc are fit in the outer pockets. There is still room in the outer area for a jacket, rope, or even a small bag with my Leica M3 or maybe a P&S digital camera. I am looking forward to my first hike with this big bag and I hope it lives up to its reputation.
![]()
 New Site colors for Spring 2020
 Lobotype POP Printing
 Bergger NB and PF 130
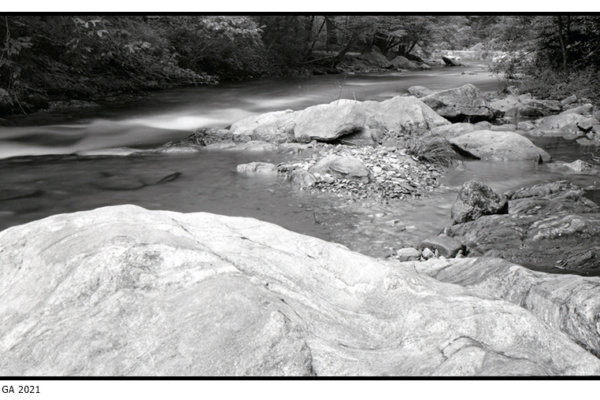
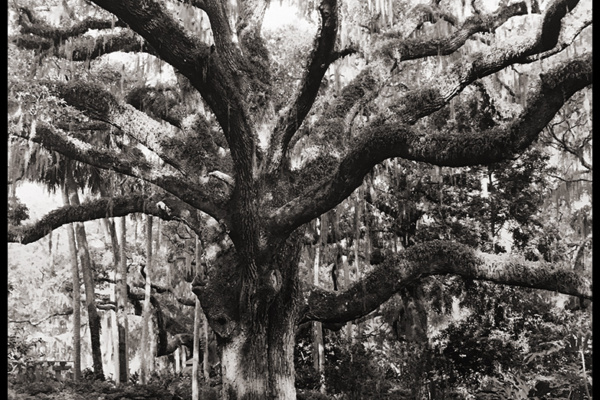
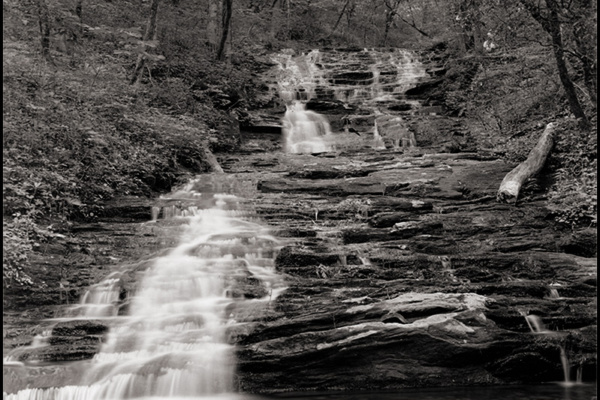
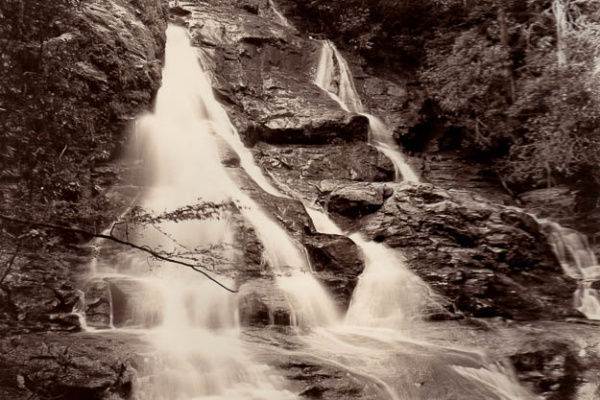
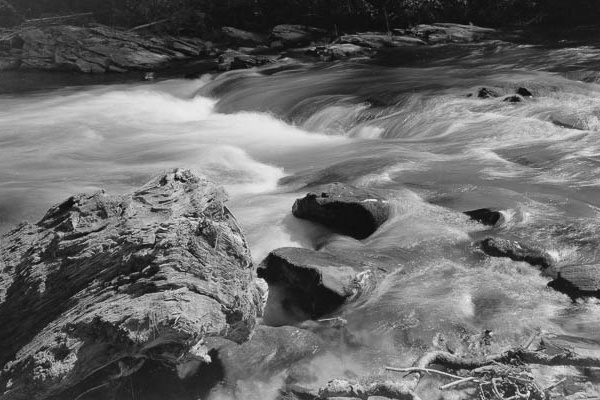
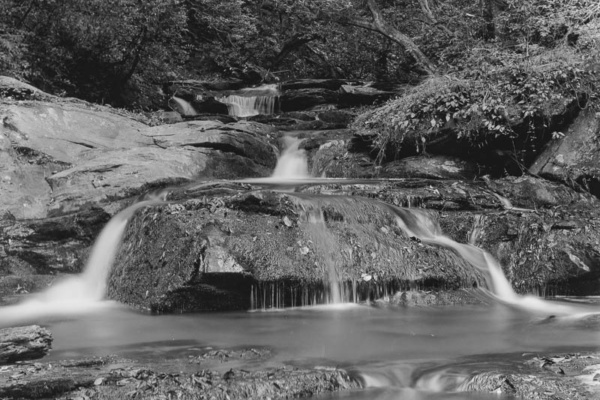
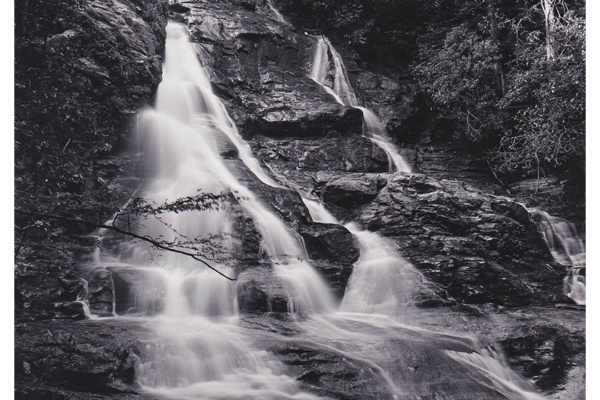
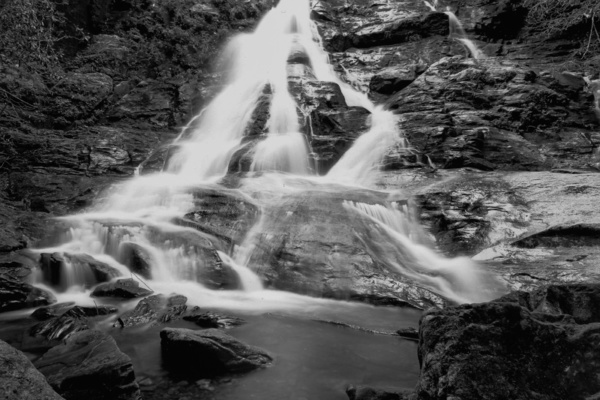
 The Scenic Route Photo Opportunity