
Its starting to warm up around here and that always makes me restless to get out and photograph something. Also the new camera, the Chamonix 5×12, needed to be tested in a familiar location. But before I could go anywhere with this almost ULF camera I needed something to carry it in. I had an old Eddie Bauer canvas duffle bag that I used to carry a heavy 4×5 monorail and all its accessories in, but I remember the shoulder pain I would endure on longer walks.
So the search for the right backpack was on. My first thought was to return to Atlas to buy another Adventure pack. But the specs and my existing pack both show that its just not deep enough to carry this camera and film holders. The 2021 version has some differences that would allow me to work out of the top for the large parts but keep lenses in lower parts of the pack but that is an awkward solution. Then I looked at the FStop bags but saw that they were either too small or not adjustable in anyway. I explored non camera packs like the Mystery Ranch tri-zip models but they each have their on issues to deal with and were still a bit small. After trying a couple of packs at REI I soon realized I was going to need 50+ liter pack without an ICU. So I started looking at the Shimoda product line. They have lots of good reviews online and I managed to find one of their older models, explore 60L, on sale for under $200.00.
When the pack arrived I noticed it looked a lot slimmer than most packs in the 60L capacity range so that had me concerned. I was barely able to slide the camera into the back panel between the stiffening rods. And then the holders go in and everything is tight depth depth-wise. I have room for the lens container and the meter and other accessories in their own small pouches. There is still room in the top for gloves and maybe a jacket. The pack came with an accessory water bottle pouch but I found it big enough to put the tripod legs into and strap the tripod to the front of the pack (rather than the side for better weight distribution). If I can find the right small pack accessory bag I may be able to carry my Chamonix 4×5, a couple of lenses, and a few holders for it too, but that will be one heavy pack.
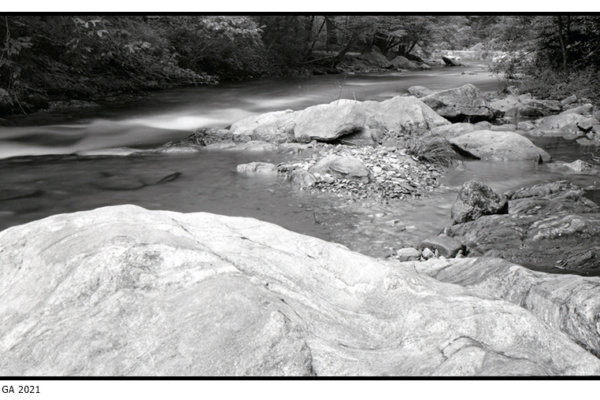
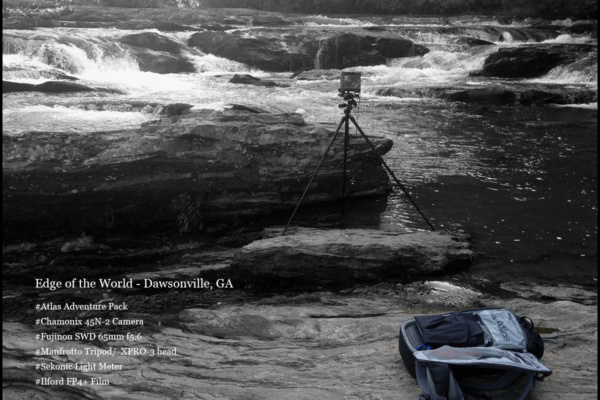
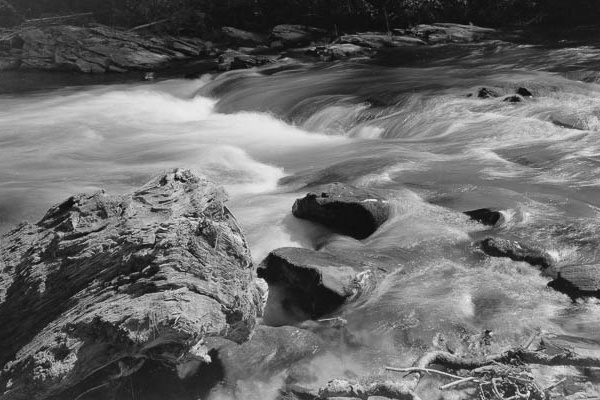
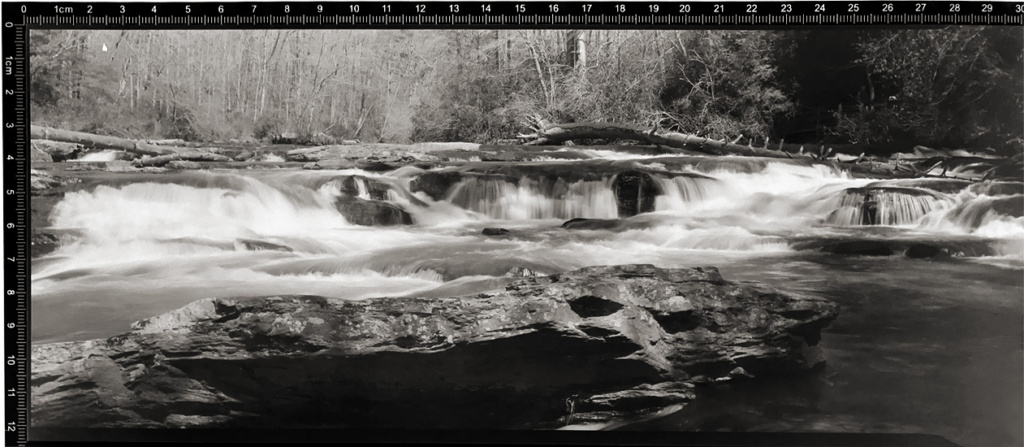
So I talked my wife into a Sunday afternoon adventure and short hike to the Edge of the World rapids that I have photographed many times. The hike is an easy 1/2 mile on a boardwalk, then just a 100 feet or so down to the rocks at waters edge. I knew this location would be good to get an idea of the 5×12 format since the falls are generally wide instead of tall. At first the pack was very uncomfortable and the shoulder straps were digging into my armpits. I found after loosening the lower part of the strap it helped with the cutting, but still I wish the straps were more padded. The hip belt also does not sit on my hips but rather above them even with the straps set to the highest loop. I am only 5-10 so not sure who they made this pack for height wise. With all the weight I was definitely feeling this gear on my back but 6 pounds of it was due to the tripod being strapped on. For a longer hike I might just carry the tripod.
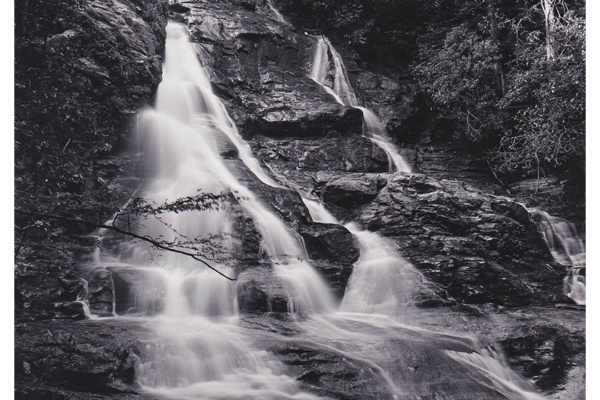
Once we arrived at the rocks in front of the falls I set up the tripod and camera. Since it is almost the same design I have for my 4×5 camera I was quite at ease in leveling and extending the lensboard to the 300mm position. I moved the rear standard for initial focusing then the front standard with the gear drive for fine focusing. With the Fresnel on the ground glass I am not able to see the full 5×12 image so have to move my head around to check composition. That will take some getting used to. Once ready to make the exposure I made sure the lens was closed and set to correct speed. I opened the bale back and easily slid in the film holder and inspected it for any gaps. After pulling the slide and tripping the shutter, I flipped the holder and took a back up shot. The whole process of pulling the camera out of the bag, setting it on the tripod, focusing, metering, exposing, and packing all back up took about 30 minutes. The hike back to the car was a little less uncomfortable than the hike in. I am not sure I am going to love this pack, but I do like the camera. Here is the test shot.
Since I have not shot film this size before I will likely do some testing to determine dilution and volume using my standard Pyrocat M developer and/or OA/2. I did find a multi-reel film tank that is 12″ deep, but it is also 3.5″ in diameter so it needs about 1800ML of developer to cover the film. Also the film is not cheap so each shot is $4-5 so backup shots will be the norm at first until I can dial in the development. My goal is to shoot 25-50 images per year in this panoramic format and still use my 4×5 for normal stuff. I am in the middle of a kitchen remodel at the moment so my developing experiments are on hold until April. I also need to workout a system for cutting print paper and contact printing once the film is developed. I need some narrow but long trays to work in my tiny darkroom.
UPDATE: Test shot FP4+ EI100 developed in Pyrocat-M 15/15/1800 @70* for 13mins. There appears to be some banding on right hand side but it could also be flare since the shot was taken mid day in a mix of shade and light. Negative inverted and contrast adjusted in Photoshop. I have found clear refrigerator trays that are 6×14 at Target which will suffice for printing. Just need to cut some 5×12 paper and get some glass.
More adventures and articles to come about this unique format camera and the Shimoda backpack. If you have any questions or comments please leave them in the comments section below. Photos to come. Thanks for reading.
 Keeping things fresh
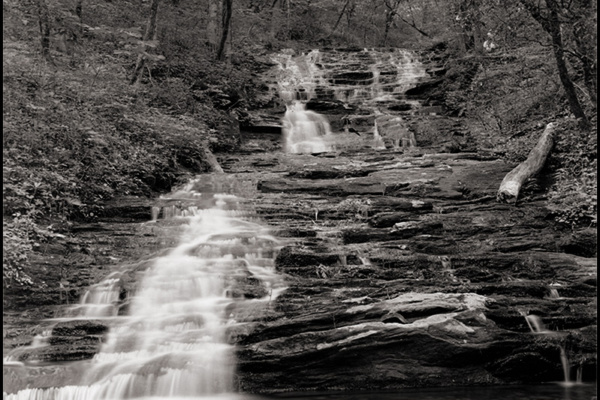
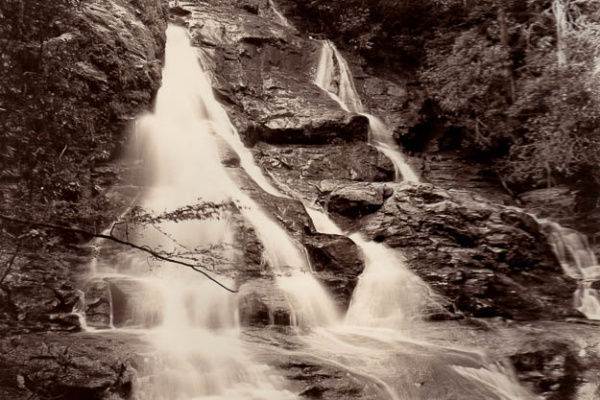
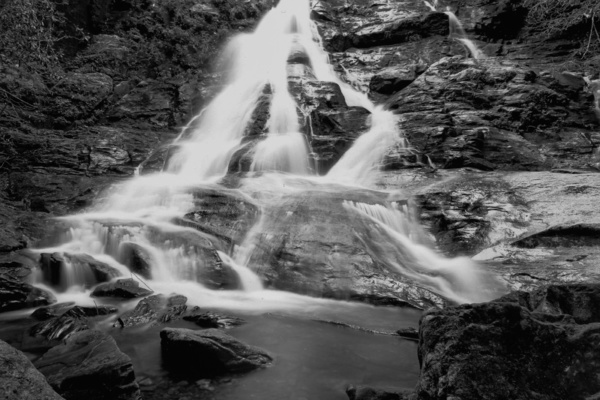
 Upper Desoto Falls