
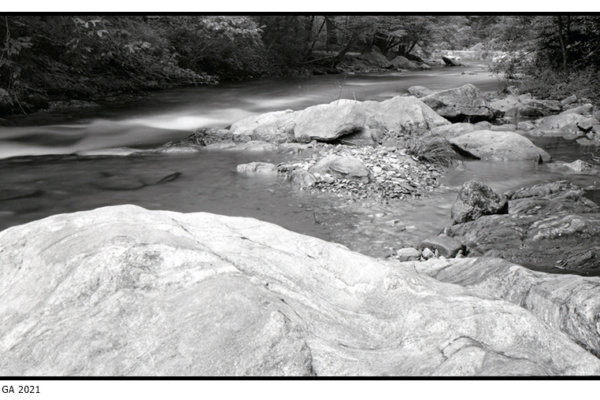
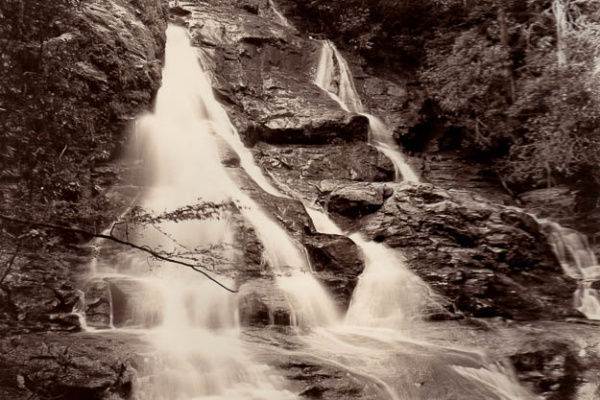
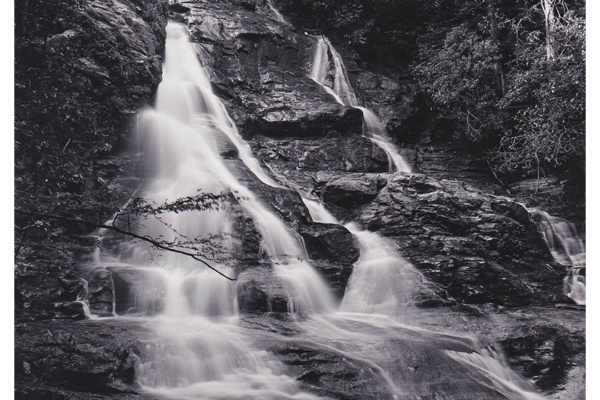
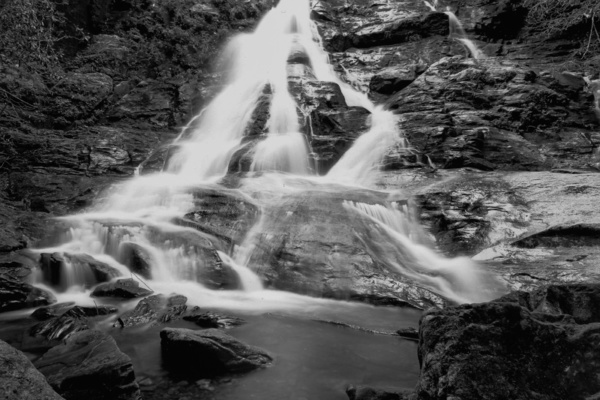
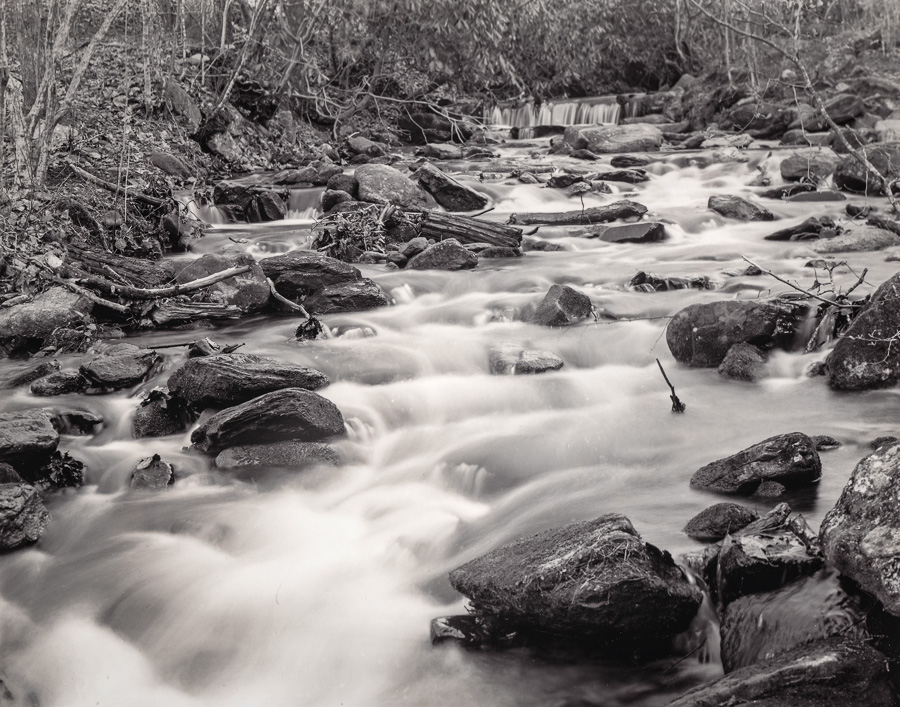
Here is the final print version of Amicalola Creek. My initial version was a scan of the negative and processed in Photoshop to my normal brown tone. However after printing this image I thought I liked it better more neutral grey. But I did decide to warm it up a bit so did a little experimentation. (continued below image)
I decided to reverse my processing of toners and tone in Selenium before I used Thiourea/Sepia. Images were printed on Ilford Multigrade Fiber Classic with good contrast between lights and darks but varying degrees of over/under printing. Developer was aged LPD 1:2. I pre-soaked three images to test with and below is how I staged and processed the images.
1) All images were input into selenium 1:24 for 3 minutes @70* and washed for 10 minutes. No noticeable DMAX change
2) Then I diluted my normal PotFerri-Bromide bleach to 1/5th its normal strength for more control.
Print 1 was a bit overexposed during printing so I let it sit in the bleach for 2 minutes. It not only bleached the highlights but the blacks turned a noticeable brown after the first minute.
Print 2 was a lighter print so I let it bleach for 1:15. It turned brown is selective areas.
So for print 3 I limited the bleach to 1 minute, which did bleach back the hightlights some. No noticeable brown tone but did have density loss in highlights and lighter greys.
3) All three into the washer tray for 15 minutes to remove the bleach.
4) I mixed Thiourea toner at 28A, 28B, and 500ml water. A and B are 10% solutions so the final working strength is really 2.8grams T and 2.8grams SH to 500ML water.
All three prints were agitated in the toner 3-4 minutes until highlights returned.
Print 1 shifted brown tone and lost some of the cast that first showed up in the bleach stage
Print 2 lost the brown toning from the bleach stage and became a nice warm gray tone but still looks underdeveloped.
Pint 3 is the final print (image above). It has just a hint of warmth in highlights and mid tones with black rich shadows when compared to straight gray print. The brown dark-mid tones offset a little richer against the black shadows.
5) final wash 15 minutes.
So what I learned is that Selenium, Bleach, Sepia is not quite as predictable as Bleach, Sepia, then selenium. The tone shift of brown at the bleach stage can be harder to overcome for the mix of sepia you intend, especially if you like the more golden brown tones. I got lucky with print #3 as I learned from the first two prints. I am not sure selenium first has the archival protection that full toning provides. Selenium after sepia also requires care if you do not wish to turn your blacks to brown. Please feel free to comment if you have experiences that are similar or differ, or have questions about my process.
 Sepia Toning with Thiourea Part II
 Inspiration 2023
 Amicalola and the Stump
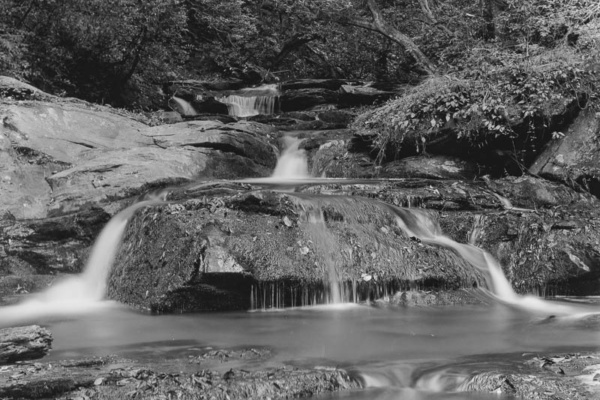
 Upscaling in the darkroom
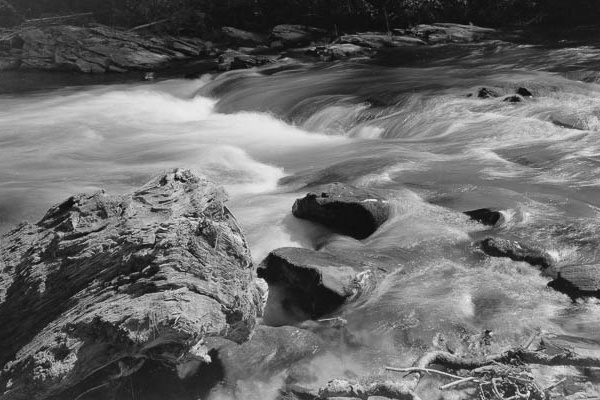
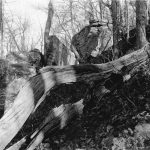 Fallen Tree at Preacher Rock