
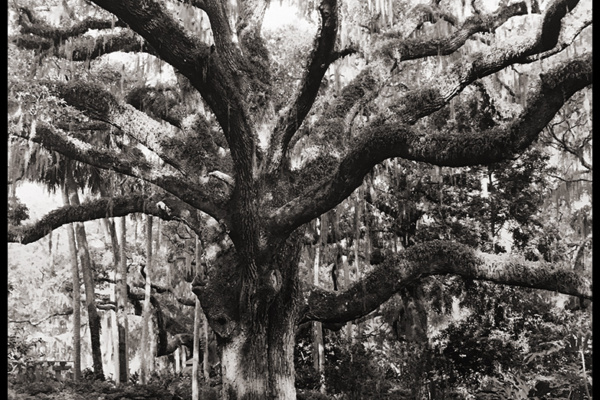
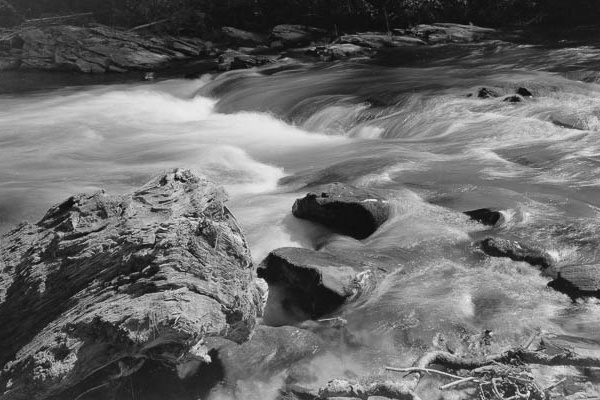
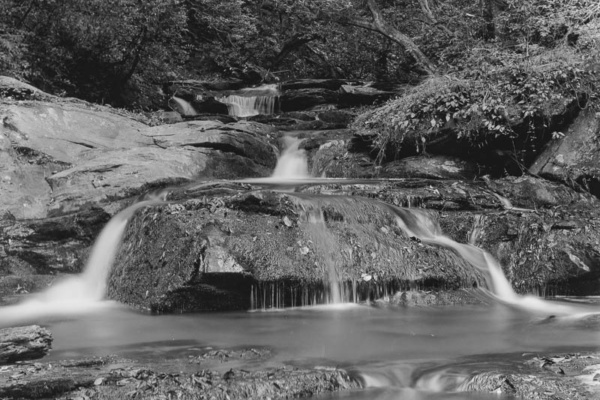
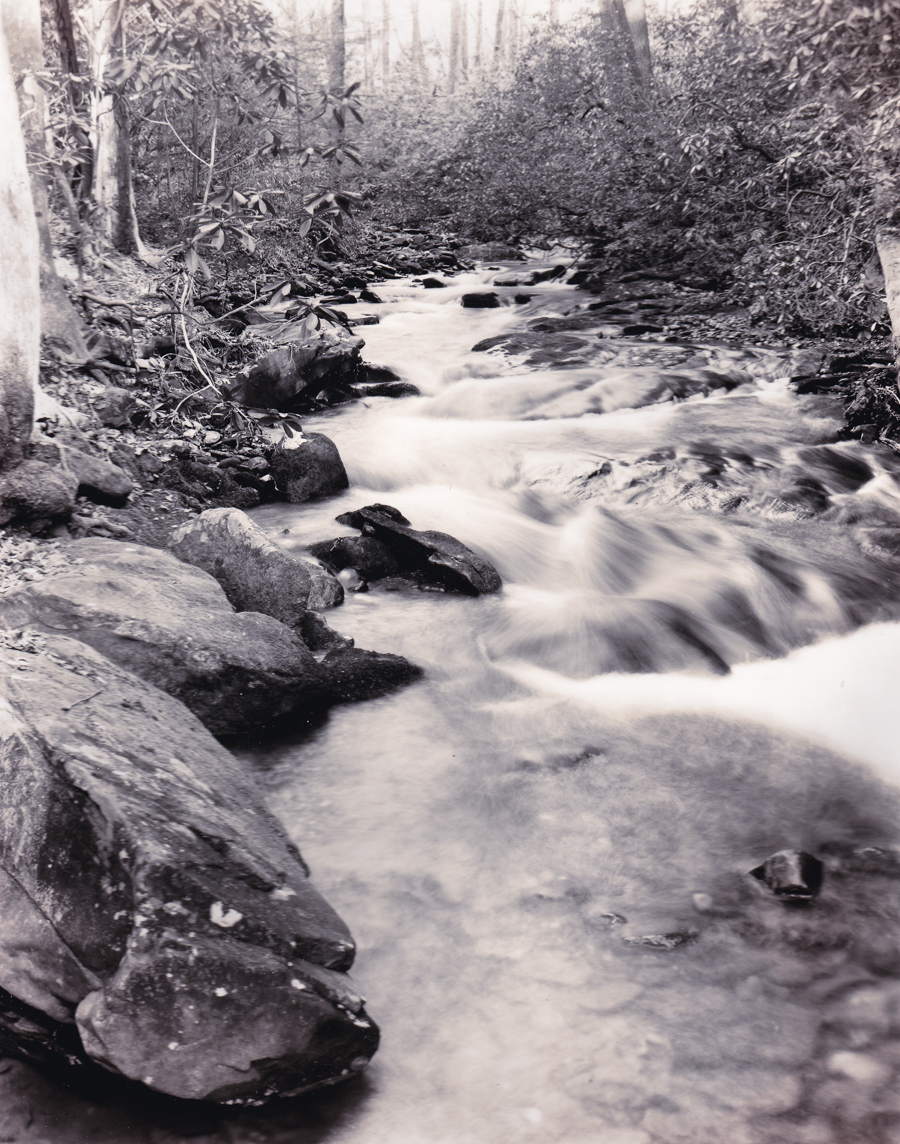
Over the last few weeks I have been trying my hand at Toning with Thiourea (Sepia) and Selenium on different papers. This thanksgiving day weekend gave me some extra time to try Split Toning with both. And as luck would have it my mentor Steve Sherman put out a video on his toning technique along with his mix of chemicals. Most of his statements I had read before but it was nice to see something in practice with explanations of what he considers a success or failure for his images. I also studied some of Tim Rudman’s recent work an noted the tones in his new Iceland series on the web have a nice yellow/tan tone in the highlights and a cooler black tone in the darker tones.
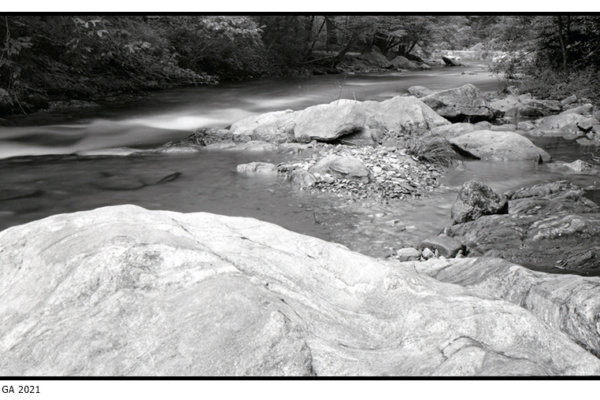
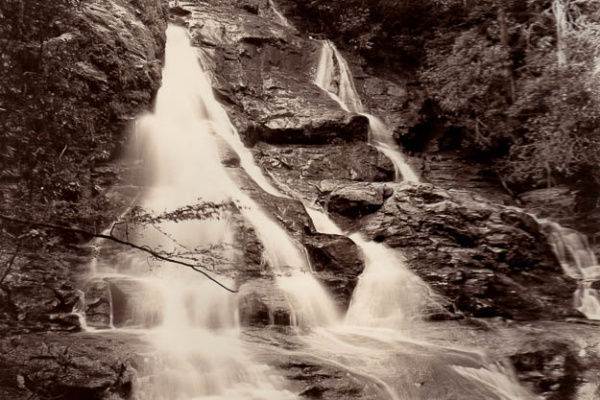
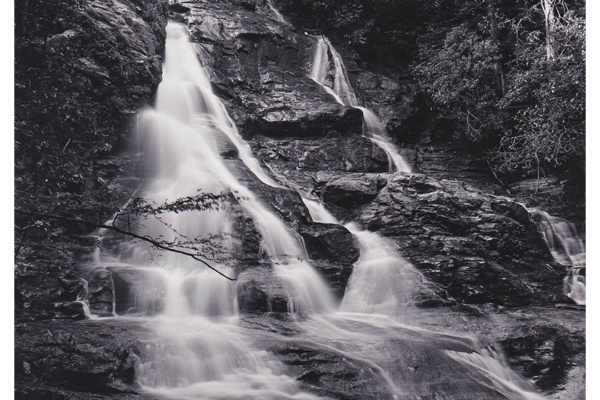
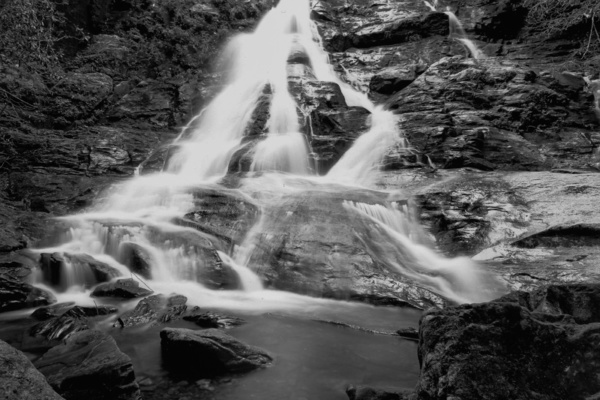
The image I worked on the day before also required some split grade printing. The overall image was exposed on Ilford MGFB Warm Tone paper for 10 seconds at #3 filter and 12 seconds at #00. But I also burned in various areas along the top and water to bring out their contrast a bit more using extra time with #00. Top right was dodged 2 seconds during the #3 filter exposure. This gave a nice black and white print and put some light grey tone in the water instead of it being pure white. I could have stopped there and been happy with the black, white, and silver tones. I could even push it a bit darker which I may do for future toning. Developed for 2:30 minutes in Ilford Multigrade Developer. Fixed in rapid fixer and washed for 30 minutes and allowed to dry overnight.
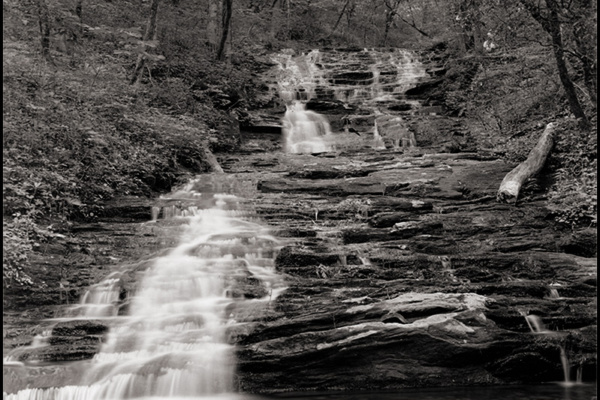
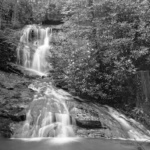
For the next step, I first rewet the dry prints for toning. I used up my remaining stock of a Photographers Formulary Thiourea toning kit. I diluted the kit’s bleach to 1/5th its normal strength so I could watch the bleaching action. I ended up bleaching for about 1 minute and 15seconds to take out just the highlights and very light greys. I washed the bleach off the print and put in a wash tray for another 10+ minutes. I then mixed 30ml of the 5% solution Thiourea, 25ml of the 10% Sodium Hydroxide solution, to 500ml of water. This should give me a more yellow-brown to light brown since the Thiourea solution is more of the mix. I allowed the toner to work for about 2 minutes and could see the color shift toward the yellow/tan color in only the highlights and could see some density returning. Then into a wash tray for 5 minutes to stop the toning.
Per Steve’s video I fixed the image again using PF TF-5 fixer for 1 minute. TF-5 is a rapid fixer. Some folks omit this fixer step but it does no harm. After another 5 minute wash I slipped the image into my 1:5 selenium mix. After about 30-40 seconds I could see the mid tone greys shifting toward a more neutral grey and pulled it there before the whole image went to the brown/magenta tone. The image was printed on Ilford MGFB warm tone paper which have a tendency to tone rapidly and produce a nice chocolate tone in selenium at full development. Full development is not what I was after in this case. I wanted to preserve the Black shadows and neutral mid tones. In the future I will likely dilute the selenium more so I can control the tone better.
Here is a scan of the finished product. The scanner tends to make the image much warmer due to the paper tone so it is adjusted slightly in Lightroom to make it more like what I see on the print. Your monitor may also be warmer or colder than mine but I hope you can see the tonal differences in the areas where sepia warmed up the image and selenium enhanced the blacks.
Note: One of the test prints I ran through the process was on Bergger CB warm tone paper. It did not tone very much in the sepia toner but rapidly turned to brown in selenium. I would have to experiment more with this paper to control it. The Ilford warm tone paper will also turn brown but it seemed to take a little longer
Technical: Ilford Delta 100 4×5, HC-110 1:63 for 12 mins. Camera – Ikeda Anba. Lens 135mm, f22, 1/2 second. Print info above.
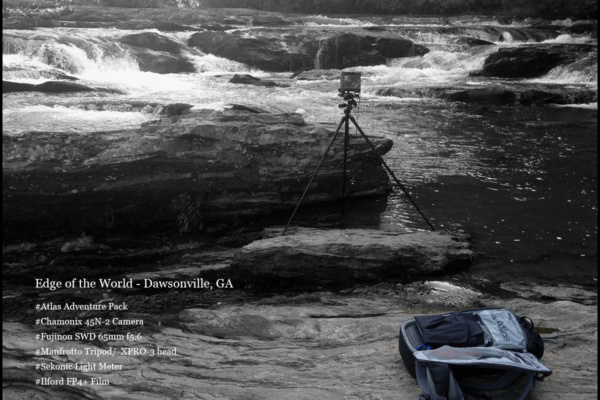
 North Georgia Large Format Photographers
 Gear for Adventures
 New Site colors for Spring 2020