
This week I received the one liter Nelson’s Gold Toner kit from Photographers Formulary. I opened it on Friday and read the mixing instructions. They were a bit daunting so I waited until Saturday afternoon when I knew I could mix the kit uninterrupted. The first part of the solution is mixed at 125 degrees and is difficult to get to mix if it falls below 125. Mixing the silver nitrate is done at room temperature but you have to add it to the first solution after it has cooled so there is a bit of a wait before you can combine the solutions to create “Solution A”. Solution B is the gold chloride and mixes easily at 68* but you want to get all the gold out of the shipping vial, which isn’t hard except your are dealing with a tiny bit of gold and only 62.5ml of water. After mixing the gold you pour 1/2 of it into Solution A and reserve the other half as a replenisher. You can store the replenisher portion in its original container and add 3-4 mls after 50 or so 8×10 toned prints to the toner or as needed. After mixing you then need to let the mixed gold toner sit at least overnight. I found there was a great deal of floating sediment in mine so I let it sit for more than 48 hours hoping the chemicals would absorb. (They didn’t)
Using the gold toner is a bit more difficult than other toners I have been using in that you have to use it at a temperature between 100 and 110 degrees F according to the instructions. So I heated up its glass container (secretly hoping the floating particles would remix, they didn’t) to nearly 110. I then put two trays in my kitchen sink to act as a double boiler. In practice I found it very difficult to keep the toner above 90 degrees. I pre-soaked my prints in 90+ degree water too to prep them for the hot toner to come.
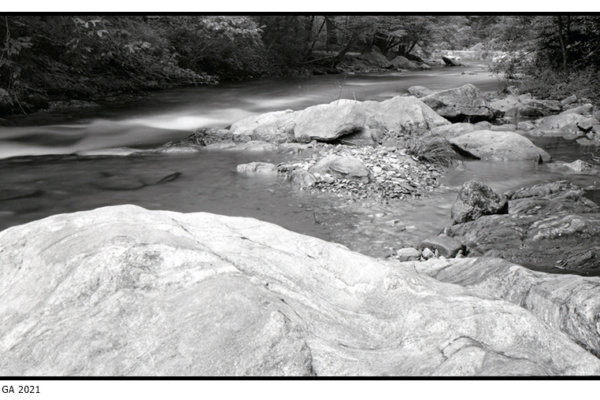
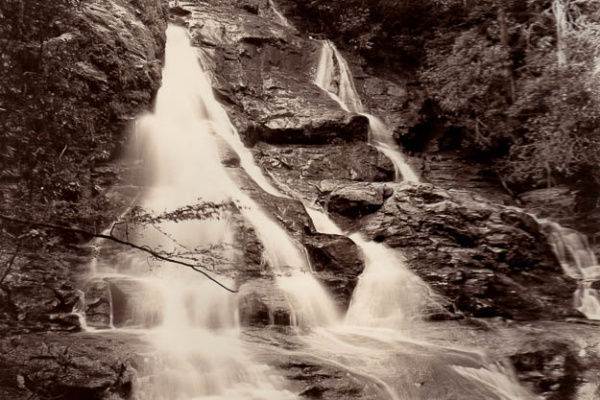
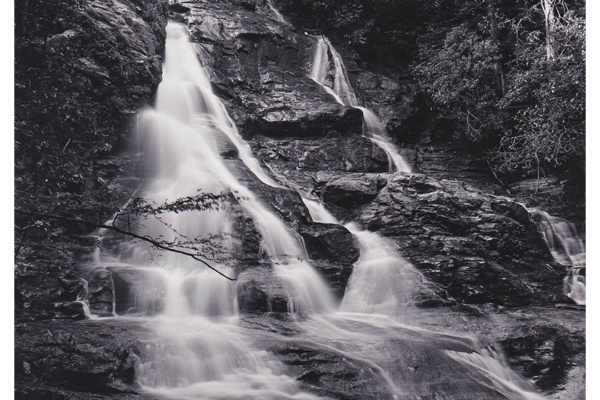
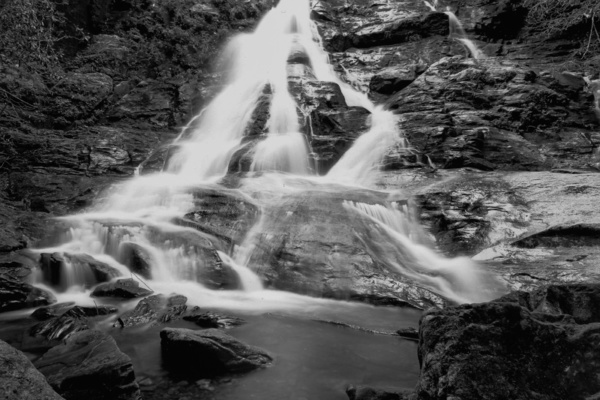
 I chose a test print with good blacks, mid tones and plenty of whitewater for my initial test, printed on Ilford MGFB Warmtone. I cut the print into 4 strips. I dropped all four strips into the toner and agitated constantly. I removed them from the toner at 5 minute intervals to see the color shift. The first 5 minute strip had no noticeable color shift while wet (but the scanner picks it up when dry), but has some slight bleaching in the highlights. The 10 minute strip is where I began to see a color shift in the highlights. At 15 minutes, color had shifted in the mid tones, and by 20 minutes full toning to a brown tone had occurred even in the shadows. However I feel the darkest shadows are blacker than they are warm.
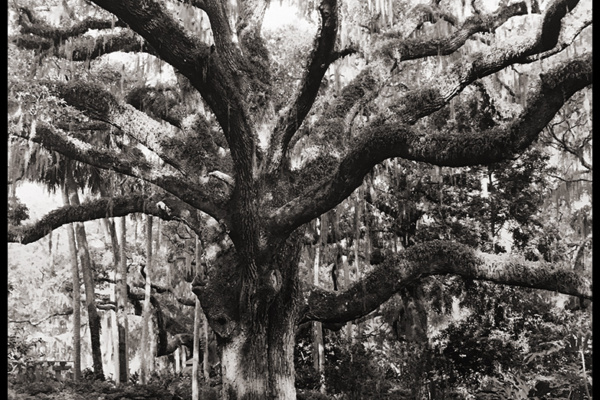
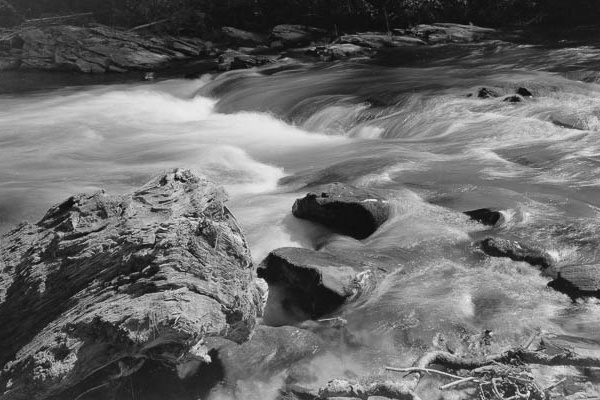
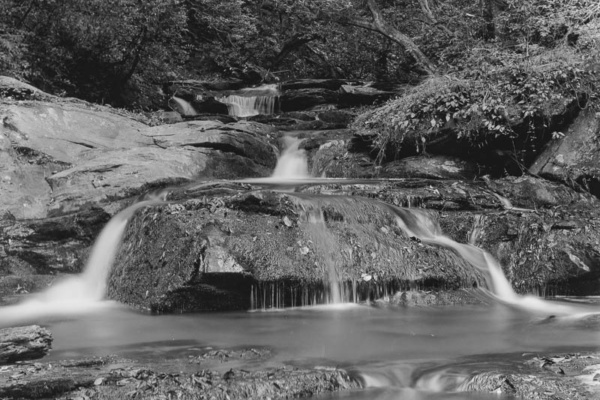
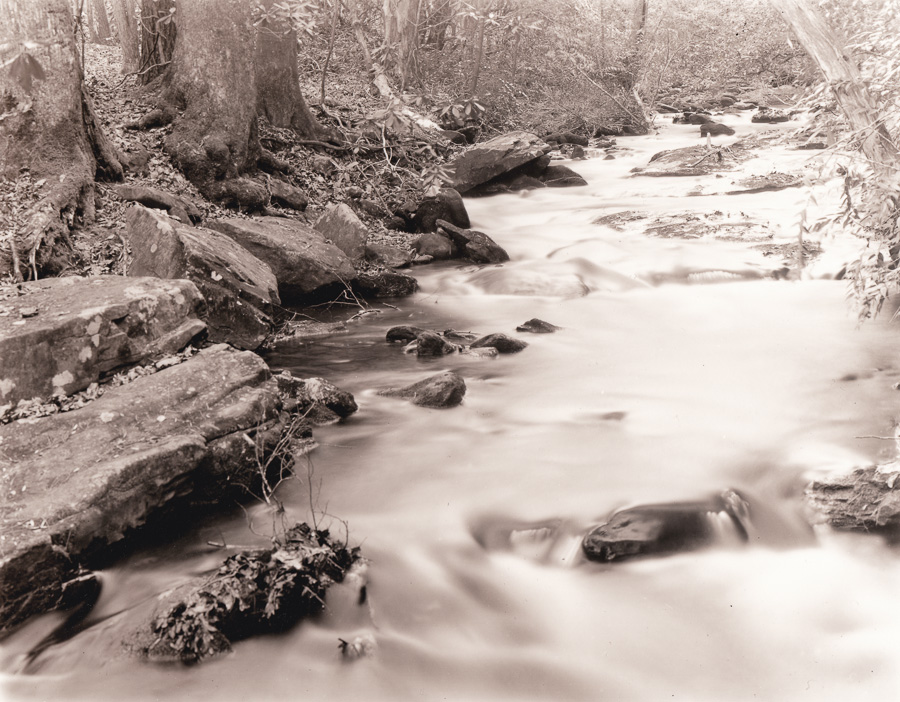
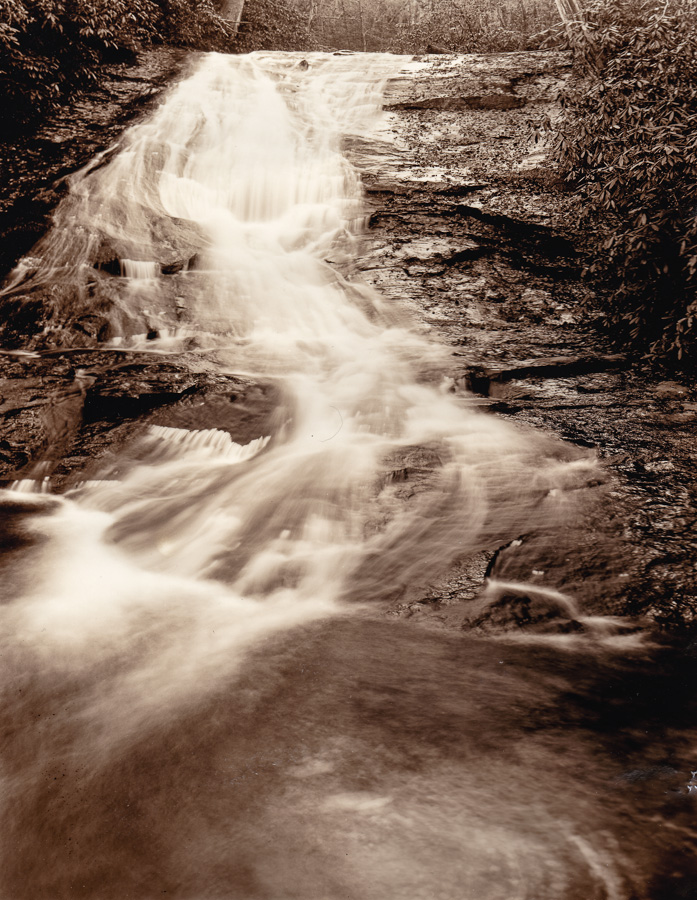
I then chose 3 other prints to tone fully so I could evaluate the brown tone against my favorite Thiourea brown tone. Noticeable shifts to a warm tone occurred around 10 minutes in the highlights. 12 minutes was even more noticeable. I probably could have stopped there and been happy with a mix of warm and neutral tones, but I decided to progress until 20 minutes had elapsed. On one of the images I did stop at 15 minutes just for comparison. The two images that went to 20 minutes at first were a warm tone but not really brown, until I put them in the wash tray. Then they shifted rapidly to a rich warm brown. The wash tray was around 100-105 degrees so it may have helped the toner complete its task. After toning I gave each image a good rinse and final wash. The used toner is returned to its storage bottle for further use. On my drying blotter I compared the wet prints to similar prints toned with Thiourea. The brown is almost the same.
So I like the brown full toned image and the economy of the toner. I dislike the mixing process, floating sediment, and trying to maintain the high temperature. I do feel I might have better control over the split tonality than I do with Thiourea since there is no bleaching step, longer development time, and I can pull the print at various times to evaluate the tonal and density changes. I will have to experiment with split toning with Selenium and/or Thiourea toners to see what other tonal values are possible. Like the Thiourea toner I would likely want to “overprint” the image to allow the toner bleaching action and visual density loss to be less dramatic in the highlights.
I would encourage anyone looking to experiment with warm toners to give this one a try. If you have used it, please tell me of your experiences and any tips or tricks you may have.
More tests examples:
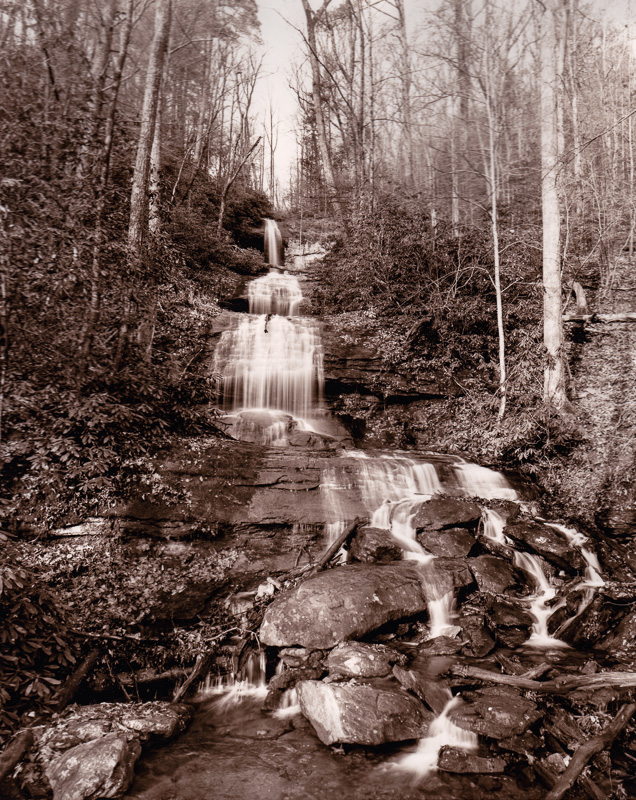
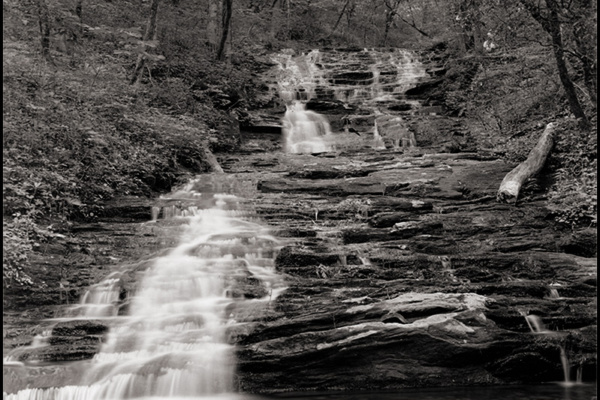
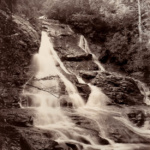 High Shoals Falls Print II
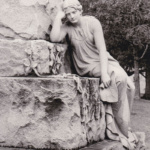 Ryan Memorial Westview Cemetery Atlanta
Nelson’s gold toner
I strongly suggest reading the patent. It makes the mixing process a bit clearer especially about temperatures and precipitate. Its number 1,849,245 Can find it at Google patents of the USPTO site.
Also, fixing the print after toning is very important. Kodak actually forgot this step in one of its Processing and Chemicals book and stated the prints toned with Nelson’s were not permanent. They are if the print is fixed and washed after toning. Kodak was usually careful about this kind of thing but I think the booklet was the work of some intern.
Nelson’s has the advantage of toning all densities evenly, similar to a polysulfide toner, so is satisfactory for partial toning.
It WILL tone at low temperatures but is extremely slow. Nelson recommended 100F in his patent. Perhaps a heating pad under the tray will help keep the temperature up.
Unfortunately, the gold is expensive.
There is a link at the top to Photographer’s Formulary 130, an old AGFA/Ansco formula and one of the best paper developers ever devised IMO.