
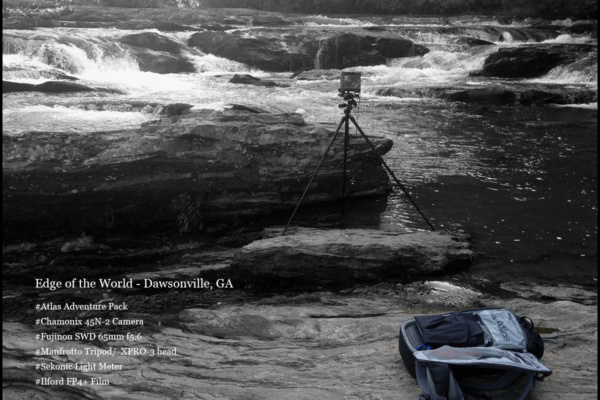
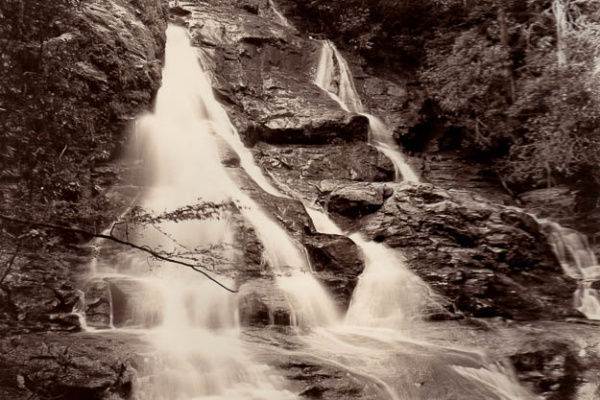
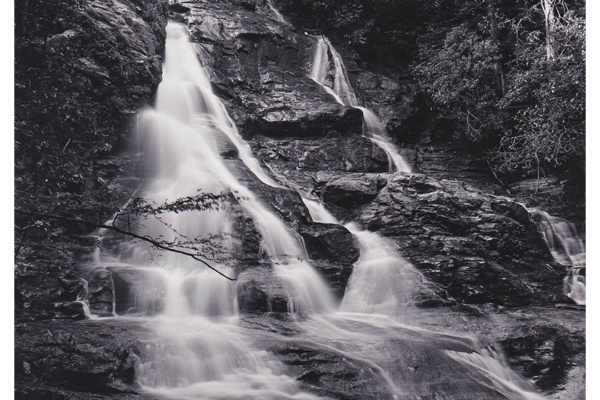
The negatives have dried and I had some free time to do print them out. Initially I tried making a contact sheet of all 4 images of each film but with paper curl and the density differences, that didn’t work out too well. So I ended up making 8 contact sheets, one for each negative. I’ll scan the prints as a group for comparison and scan the pairs that were developed together to see if there are noticeable differences between FP4 and Delta 100.
Observations:
#1 Shortest process time had the least density and required about 5 seconds of print time.
#2 & #4 Print time increased 1 second for FP4+ and 2 seconds for Delta 100
#3 Print time increased 2 seconds because of higher density
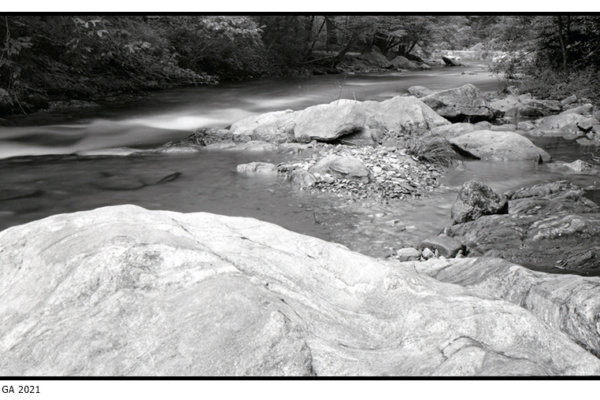
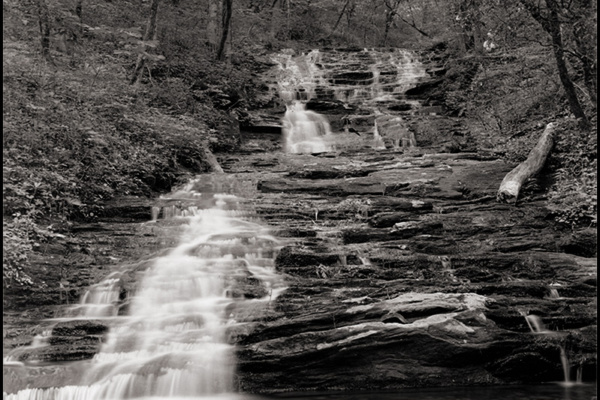
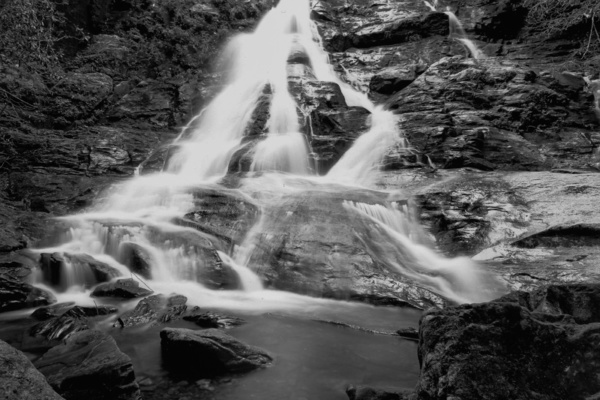
Delta 100 was slightly more dense than FP4 for the pairs processed in the same tank so I can process Delta 100 for a bit less time . FP4 had more shadow separation which is to be expected because Delta 100 has a flatter toe area by design. I was surprised that I liked the nuances of FP4 better than Delta 100 for a landscape type shot. If I were shooting a city/urban scene I might choose the Delta 100.
The #4 test gave the most overall pleasing results. All 4 tests gave a very printable negative, none had any of the blowout you might get with digital or slide film. The Pyrocat staining also allowed me to lower the magenta settings I usually start printing at, it offers its own contrast boost.
So based on these initial tests my standard mix for Normal scenes will be 3ml A + 2ml B + 500ml Water processing only 2 sheets in my 4×5 tank with minimal agitation with 24.5 minutes for FP4+ and 22 minutes for Delta 100. I will reduce time by 20% for EV 7stops and increase time 20% for EV 5 stops. I need to be more careful in placing the shadow detail on Zone III rather than Zone II which may require an adjustment to metering technique and more evaluation of the scene.
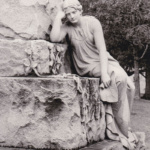 Ryan Memorial Westview Cemetery Atlanta
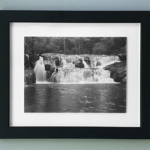 The work avoided